
Rot around windows often begins when rain, melting snow, or indoor moisture reaches unprotected wood and cannot dry properly. Homeowners in Lake Mills, WI, should check window sills, trim, siding, flashing, caulk, and interior walls for softness, staining, peeling paint, or other signs of moisture damage.
Why Window Rot Is a Concern in Lake Mills
Windows are exposed to changing weather throughout the year. In Lake Mills, they must withstand heavy rain, snow, ice, hail, strong wind, humid summers, and repeated freeze-thaw cycles.
A properly installed window system directs water away from the wall. The window, flashing, exterior trim, siding, sealants, and drainage components must all work together.
When one part fails, moisture may enter behind the siding or window frame. Wood that remains damp can begin to soften and decay. Over time, the damage may spread into the wall sheathing, framing, insulation, and interior finishes.
Window rot should not be treated as only a cosmetic problem. It may indicate that the exterior wall system is no longer keeping moisture out effectively.
Common Signs of Rot Around Windows
Window rot may develop gradually, so homeowners should watch for changes inside and outside the home.
Common warning signs include:
- Soft or spongy wood
- Cracked or peeling paint
- Dark stains on trim
- Crumbling window sills
- Swollen wood
- Gaps around the window frame
- Musty odors
- Mold-like discoloration
- Water stains below the window
- Drafts around the frame
- Loose exterior trim
- Siding damage near the window
- Condensation between glass panes
- Difficulty opening or closing the window
A window may look acceptable from indoors while hidden damage develops behind the exterior trim. Homeowners should inspect both sides whenever possible.
Check the Exterior Window Sill
The exterior sill is one of the most vulnerable parts of a window. It receives direct rain, melting snow, and runoff from the glass.
A properly designed sill should slope away from the house so water can drain. If it is flat, cracked, or tilted toward the wall, moisture may collect near the frame.
What to Look For
Check the sill for:
- Soft areas
- Splits or cracks
- Peeling paint
- Standing water
- Missing sealant
- Swollen wood
- Gaps at the corners
- Insect damage
- Separation from the frame
Pressing gently with a screwdriver can sometimes reveal softened wood, but avoid causing further damage. If the tool easily sinks into the surface, the sill may have significant decay.
Wood filler or new paint may improve the appearance temporarily, but these steps will not stop rot if water is still entering the area.
Inspect Exterior Window Trim
Exterior trim covers the edges around the window and helps create a finished, protected opening.
Wood trim is especially vulnerable when paint or protective coatings begin to fail. Once moisture reaches exposed wood fibers, the material may absorb water during every rain or snowmelt event.
Pay close attention to:
- Lower trim corners
- Horizontal trim pieces
- Joints between trim boards
- Areas where trim meets siding
- Nail or fastener holes
- Trim beneath roof edges
- Sections exposed to gutter overflow
Rot frequently develops at the lower corners because water naturally moves downward and may collect there.
Cracks between trim pieces can also allow wind-driven rain to enter behind the visible surface.
Look for Failed Caulk and Sealant
Exterior caulk is used around many window joints, but it does not last forever.
Temperature changes cause window frames, siding, trim, and wall materials to expand and contract. Over time, caulk may shrink, crack, pull away, or lose adhesion.
Signs of failed sealant include:
- Visible cracks
- Open gaps
- Brittle caulk
- Missing sections
- Separation from the window frame
- Thick layers from repeated patching
- Water stains beneath sealed joints
Caulk should not block drainage openings built into the window system. Sealing the wrong area can trap water instead of keeping it out.
Repeatedly applying new caulk over a leaking area may hide a larger flashing or installation problem. The source of the moisture should be identified before another surface patch is applied.
Check the Window Flashing
Flashing is one of the most important parts of a window installation. It directs water around the opening and back to the exterior.
Window flashing may include sill pan flashing, flashing tape, drip caps, house wrap, and properly layered siding components.
If flashing is missing, damaged, or installed in the wrong sequence, water may move behind the window even when the visible caulk looks intact.
Signs of a Flashing Problem
Possible warning signs include:
- Recurring leaks after heavy rain
- Rot at multiple window corners
- Wet wall sheathing
- Stains beneath the window
- Loose siding near the opening
- Interior drywall damage
- Moisture that returns after caulking
- Leaks during wind-driven rain
Flashing problems are often hidden beneath siding and trim. A professional inspection may require removing a limited section of material to evaluate the condition underneath.
Examine the Siding Around the Window
The source of window rot may begin in the surrounding siding rather than the window itself.
Cracked, loose, warped, or missing siding can allow water behind the exterior wall covering. Improper clearances and poorly sealed penetrations may also direct water toward the window opening.
Homeowners should look for:
- Cracked vinyl siding
- Loose siding panels
- Rotting wood siding
- Damaged fiber cement boards
- Dented or open metal siding seams
- Missing corner pieces
- Gaps around window trim
- Stains below siding joints
- Buckling or swelling
- Hail or wind damage
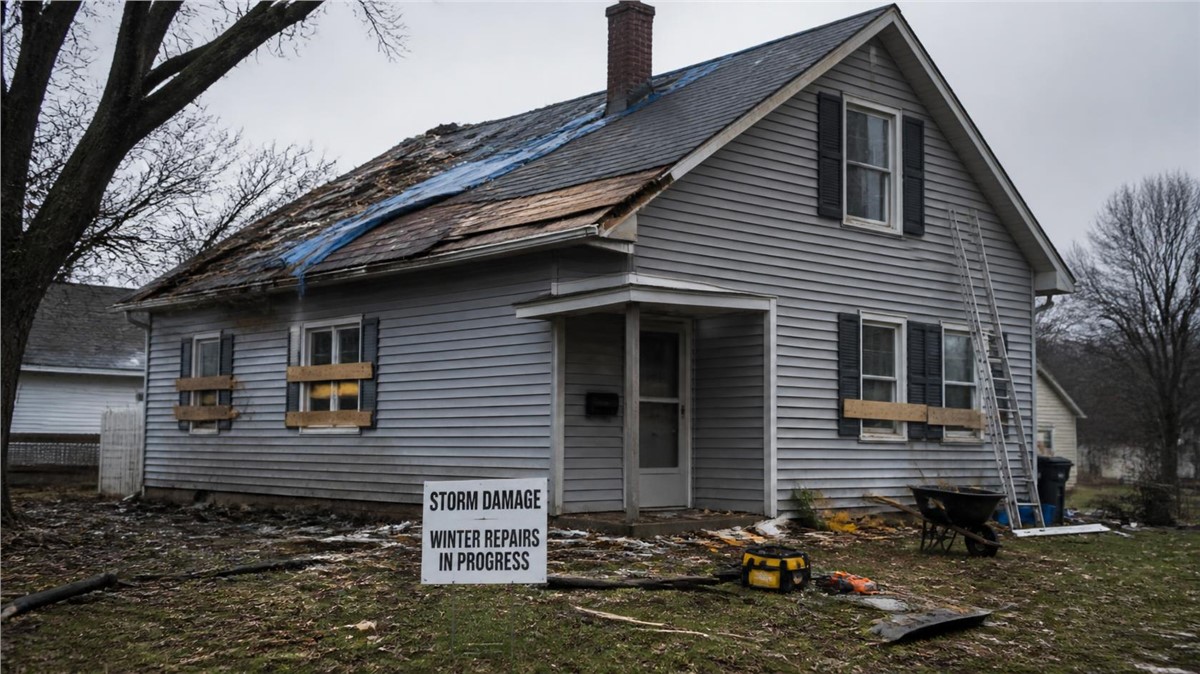
Storm damage should be taken seriously. Hail can crack siding, while strong winds may loosen panels or pull trim away from the wall.
Once water enters behind the siding, it can travel along the house wrap or sheathing before collecting around a window.
Inspect Interior Walls and Trim
Interior warning signs may provide important clues about the location and extent of moisture damage.
Check the drywall, trim, and flooring around the window for:
- Yellow or brown staining
- Bubbling paint
- Peeling wallpaper
- Swollen baseboards
- Soft drywall
- Musty smells
- Visible mold-like growth
- Warped flooring
- Damp carpet
- Cracked interior trim
Water stains beneath a window may suggest a failed sill, flashing problem, or exterior gap. Staining above the window could indicate water entering from siding, roof flashing, gutters, or another opening higher on the wall.
The visible stain may not be directly beside the actual leak. Water can travel along framing before appearing indoors.
Do Not Overlook Condensation
Not all moisture around windows comes from an exterior leak.
Condensation develops when warm, humid indoor air contacts a cold window surface. It is especially common during Wisconsin winters.
Frequent condensation can wet wood frames, sills, and interior trim. If the area remains damp, paint may peel and wood may begin to deteriorate.
Possible causes include:
- High indoor humidity
- Poor ventilation
- Bathroom or kitchen moisture
- Insufficient insulation
- Air leaks around the window
- Failed insulated glass seals
- Window coverings that restrict airflow
Condensation between panes usually indicates a failed glass seal. Moisture on the room-side surface may be related to humidity or cold air leakage.
Homeowners should determine whether the moisture comes from rain, melting snow, condensation, or a combination of issues.
Check Gutters and Roof Drainage Above the Window
A damaged window may not be the original source of the water.
Clogged or overflowing gutters can send large amounts of water down the siding. Missing gutter sections, loose downspouts, or poor roof drainage may repeatedly soak the wall around a window.
Inspect the area above the affected window for:
- Clogged gutters
- Loose gutter fasteners
- Leaking gutter seams
- Damaged downspouts
- Missing flashing
- Short roof overhangs
- Ice dam evidence
- Roof or chimney leaks
- Water stains on siding
During Lake Mills winters, ice dams can prevent melting snow from draining normally. Water may back up beneath roofing materials and enter the wall above a window.
Fixing the window trim alone will not solve the problem if the roof or gutter system continues to direct moisture toward it.
How Freeze-Thaw Cycles Make Rot Worse
Freeze-thaw cycles are especially hard on damaged window materials.
Water enters a small crack or unsealed joint. When the temperature drops, the water freezes and expands. When temperatures rise, it melts and may move deeper into the material.
Repeated cycles can:
- Widen cracks
- Separate trim joints
- Loosen paint
- Damage sealant
- Split wood
- Open siding seams
- Weaken masonry around nearby openings
Small defects noticed in fall may become larger by spring. Checking windows before winter and again after snow melts can help identify developing problems.
Repairing Rot Versus Replacing the Window
The right solution depends on how far the damage has spread.
When a Repair May Be Possible
A localized repair may be appropriate when:
- Damage is limited to a small trim section
- The window frame remains solid
- Wall sheathing is dry
- Flashing is functioning correctly
- The moisture source has been corrected
- Replacement materials can be properly sealed
The damaged wood must be removed or repaired, and the underlying moisture problem must be addressed.
When Replacement May Be Better
Window replacement may be recommended when:
- The frame is extensively rotted
- The window no longer opens or closes properly
- Water has entered the wall system
- Glass seals have failed
- Drafts are significant
- Rot returns after previous repairs
- The window is old and inefficient
- Multiple components are deteriorated
Removing the old window can provide access to inspect the rough opening, sheathing, insulation, and flashing.
New windows should be installed as part of a complete water-management system rather than simply inserted into a damaged opening.
Hidden Damage Behind the Window
Visible rot may represent only part of the problem.
Once exterior trim or siding is removed, contractors may discover:
- Rotted wall sheathing
- Wet insulation
- Mold-like staining
- Damaged framing
- Insect activity
- Improper flashing
- Missing house wrap
- Old water stains
- Corroded fasteners
The extent of hidden damage cannot always be determined from the surface.
Homeowners should be prepared for the possibility that additional repairs may be needed before a new window or trim can be installed correctly.
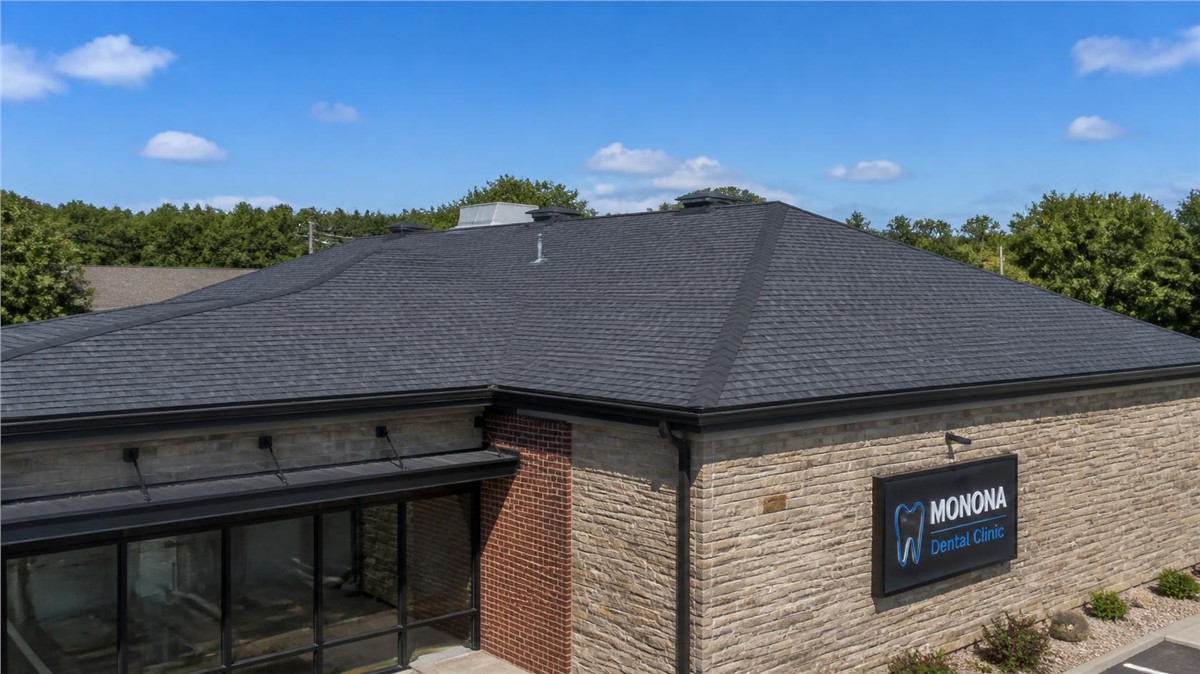
Window Rot on Commercial Properties
Although window rot is common in homes, commercial properties can experience similar problems.
Commercial buildings may have larger window systems, metal panels, masonry walls, storefront glass, or multiple wall transitions. Water intrusion can damage offices, tenant spaces, insulation, flooring, inventory, and interior finishes.
Property managers should check for:
- Failed perimeter sealants
- Loose metal flashing
- Leaking storefront frames
- Moisture below window systems
- Damaged wall panels
- Interior ceiling or drywall stains
- Drainage problems above entrances
Early inspection can help limit business disruption and prevent moisture from spreading into larger wall sections.
How to Help Prevent Future Window Rot
Regular exterior maintenance can reduce the risk of recurring rot.
Helpful steps include:
- Inspecting windows every spring and fall
- Replacing failed caulk where appropriate
- Maintaining painted wood surfaces
- Cleaning gutters and downspouts
- Repairing storm-damaged siding
- Checking roof drainage
- Managing indoor humidity
- Addressing condensation
- Keeping sprinklers directed away from walls
- Trimming vegetation near windows
- Repairing leaks promptly
Homeowners should also inspect windows after hail, strong wind, heavy rain, or ice buildup.
Schedule a Window and Exterior Inspection in Lake Mills
Rot around windows can damage more than the visible trim. Moisture may spread into siding, insulation, sheathing, framing, drywall, and flooring if the source is not corrected.
Huskie Exteriors provides window, siding, roofing, gutter, and storm damage restoration services for homeowners and commercial property owners throughout Illinois and Wisconsin.
If you notice soft wood, peeling paint, water stains, drafts, damaged siding, or recurring moisture around your windows in Lake Mills, WI, contact Huskie Exteriors through huskieexteriors.com. A professional exterior inspection can help locate the source of the problem and determine whether repair or window replacement is the appropriate next step.
Subscribe to Huskie Exteriors's Blog





Comments