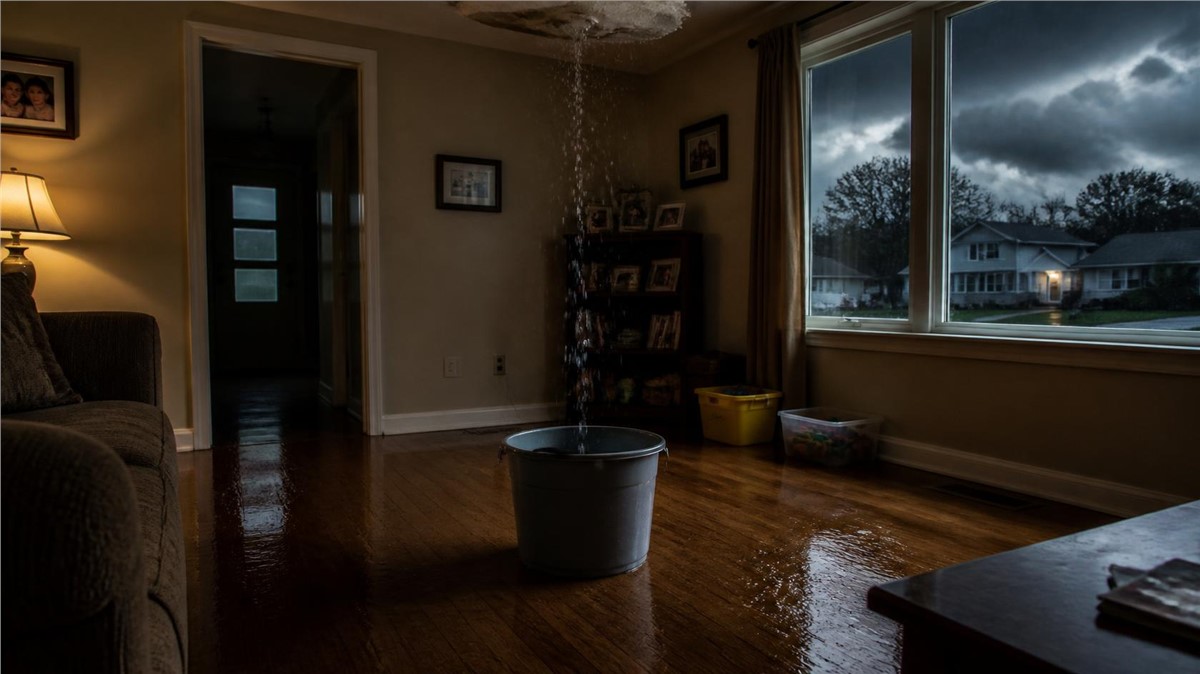
A roof leak after a storm can feel stressful, especially when water is actively dripping into your home. It may start as a small ceiling stain, a wet attic area, or water near a light fixture. Even a small leak should be taken seriously because moisture can spread into insulation, drywall, framing, flooring, and nearby exterior materials.
For homeowners in Pontiac, IL, storms can bring wind, hail, heavy rain, snow, ice, and freeze-thaw cycles. These conditions can damage shingles, flashing, gutters, roof vents, siding, windows, fascia, and soffit. Knowing what to do first can help protect your home while you wait for professional repair.
Step 1: Stay Safe First
Safety should always come before cleanup or repair. Do not climb onto the roof during or after a storm. Wet shingles, wind, lightning, debris, and unstable surfaces can make roof access dangerous.
Avoid:
- Climbing onto the roof
- Using ladders during wet or windy weather
- Touching wet electrical fixtures
- Standing under sagging ceiling areas
- Walking through standing water near outlets
- Pulling apart damaged ceiling materials
If water is near wiring, lights, outlets, or electrical panels, stay away from the area and contact the proper professional.
Step 2: Protect the Interior
Once the area is safe, try to reduce interior damage. Move furniture, electronics, rugs, documents, and valuables away from the leak.
Helpful steps include:
- Place a bucket or container under dripping water
- Move belongings away from wet areas
- Put towels around small leaks
- Protect flooring when possible
- Keep pets and children away
- Mark slippery areas
- Avoid disturbing sagging drywall
The goal is to limit damage without putting yourself at risk.
Step 3: Relieve Ceiling Bulging Carefully
If water is collecting behind a ceiling and creating a bulge, it may eventually burst and spread water suddenly. This situation should be handled carefully.
If it is safe, place a bucket underneath and contact a professional for guidance. Do not stand directly under a sagging area, and do not cut or puncture the ceiling unless you understand the risk and can control the water safely.
A sagging ceiling can signal trapped water and possible drywall damage.
Step 4: Take Photos and Notes
Documentation is important after storm damage. Before cleanup, take photos and videos of the leak and any visible damage.
Document:
- Date of the storm
- Time the leak started
- Room where water appeared
- Ceiling stains
- Wet flooring
- Water near windows
- Attic moisture if visible
- Shingle pieces in the yard
- Gutter overflow
- Damaged siding or trim
These records can help your contractor understand the problem and may be useful if insurance is involved.
Step 5: Check the Attic If Safe
The attic can help identify where water is entering before it spreads into living spaces. Only check the attic if it is safe, dry, and accessible.
Look for:
- Wet insulation
- Water trails
- Dark roof decking
- Rusted nails
- Damp rafters
- Musty odors
- Dripping near vents
- Moisture near chimneys
- Daylight through roof gaps
Do not step on insulation or ceiling drywall. If the attic is unsafe, wait for a professional inspection.
Step 6: Look for Ground-Level Roof Signs
You can often spot storm damage from the ground. Walk around the home after the storm has passed and look for visible warning signs.
Check for:
- Missing shingles
- Lifted shingles
- Shingle pieces in the yard
- Dented roof vents
- Loose flashing
- Branches or debris on the roof
- Damaged ridge caps
- Granules near downspouts
Avoid climbing onto the roof. A roofing contractor can inspect the full surface safely.
Step 7: Check Gutters and Downspouts
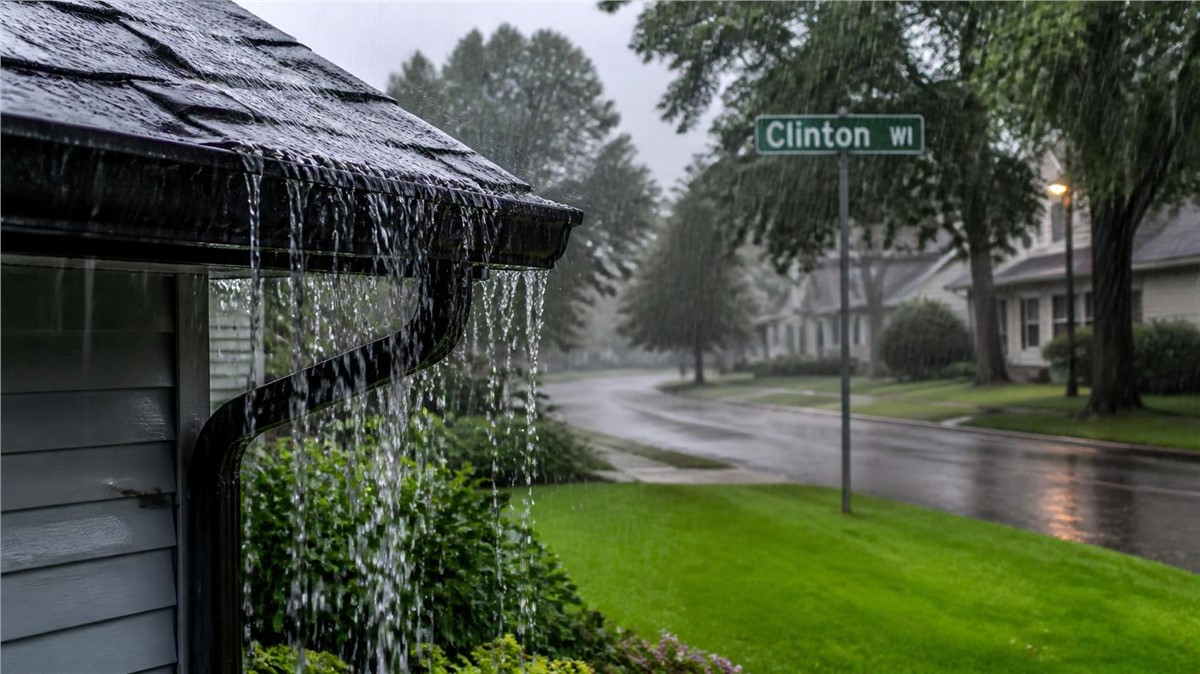
A roof leak may be connected to gutters. If gutters clog, overflow, sag, or pull away, water may back up near the roof edge and enter the home.
Look for:
- Overflow marks
- Sagging gutters
- Loose downspouts
- Water behind gutters
- Leaking seams
- Clogged downspouts
- Granules near outlets
- Water pooling near the foundation
Gutters should be checked because they are part of the home’s water management system.
Step 8: Check Flashing Areas
Flashing protects vulnerable roof areas where water is more likely to enter. Storms can loosen flashing or expose old sealant problems.
Common flashing leak areas include:
- Chimneys
- Skylights
- Roof valleys
- Pipe boots
- Wall transitions
- Dormers
- Roof vents
- Roof edges
If the leak is near a chimney, skylight, or exterior wall, flashing may be part of the problem.
Step 9: Watch for Window and Siding Leaks
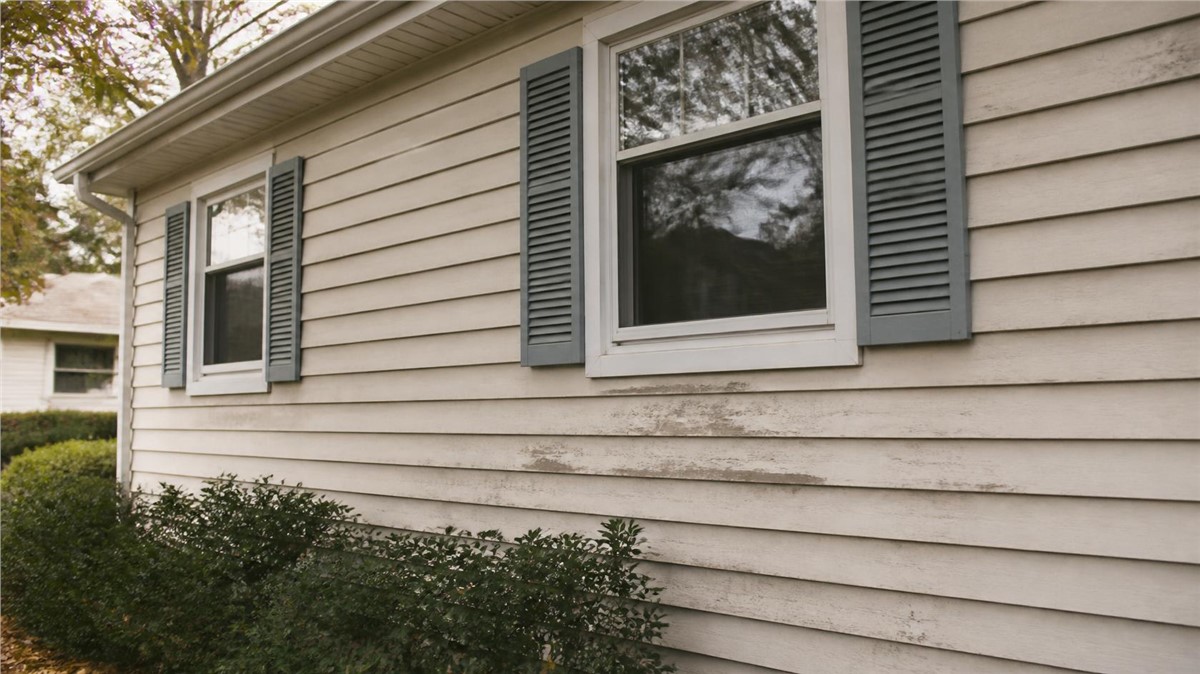
Not every storm leak starts on the roof. Wind-driven rain can enter through damaged siding, window trim, flashing, or caulking.
Check for:
- Water on window sills
- Stains below windows
- Damp drywall near exterior walls
- Loose siding
- Cracked siding
- Failed caulking
- Soft trim
- Water stains under gutters
A full exterior inspection helps confirm whether the leak is from roofing, siding, windows, gutters, or another source.
Step 10: Call a Roofing Contractor
Once the immediate area is safe and documented, contact a roofing contractor for inspection and temporary protection if needed. An emergency leak should not be left for the next storm to test again.
A contractor can help with:
- Leak source inspection
- Temporary roof protection
- Storm damage documentation
- Repair recommendations
- Roof, gutter, siding, and window checks
- Replacement guidance if damage is severe
The sooner the leak source is found, the easier it may be to limit additional damage.
Temporary Protection vs Permanent Repair
Temporary protection may help reduce water entry until permanent repairs can be completed. However, temporary work should not be treated as the final solution.
Temporary protection may include:
- Securing loose materials
- Covering exposed roof areas
- Redirecting water
- Protecting interior spaces
- Removing debris from safe areas
- Documenting the damaged area
Permanent repair should address the actual cause, such as missing shingles, damaged flashing, roof vent failure, storm damage, gutter problems, or damaged decking.
Common Causes of Emergency Roof Leaks
After a storm, leaks can come from several areas. The visible water stain may not be directly below the source.
Common causes include:
- Missing shingles
- Lifted shingles
- Damaged flashing
- Cracked pipe boots
- Damaged roof vents
- Clogged gutters
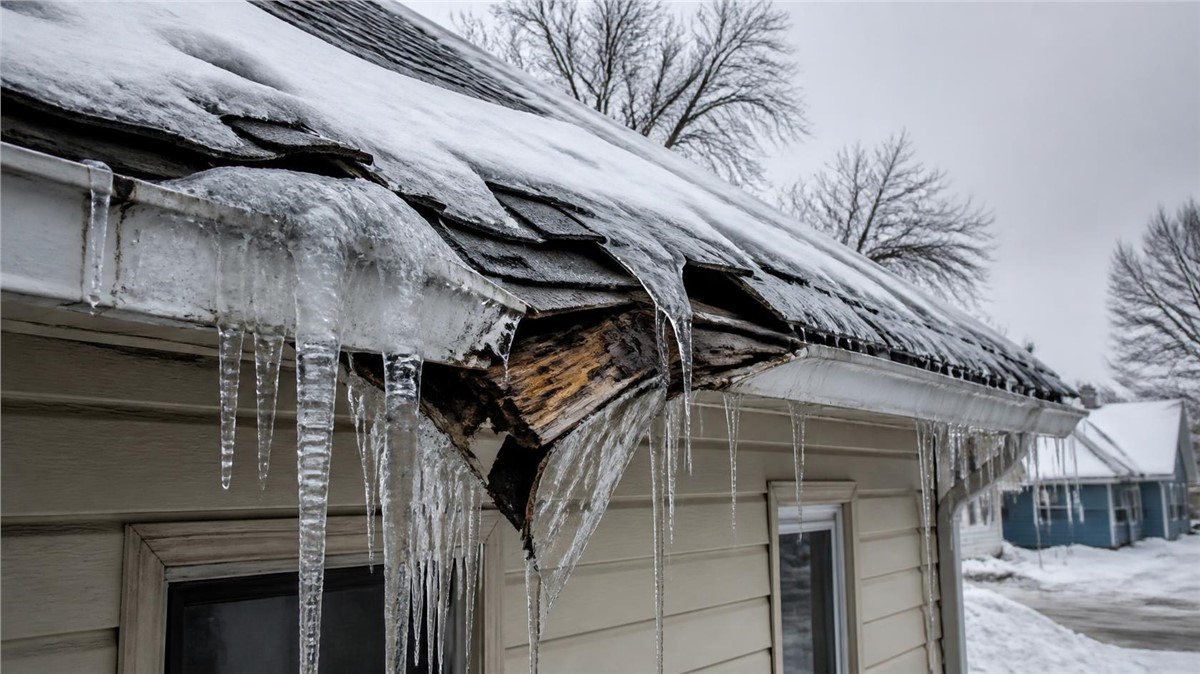
- Ice or debris buildup
- Roof valley damage
- Hail impact
- Wind-driven rain
- Damaged siding near rooflines
A professional inspection helps trace the leak back to the source.
What If the Leak Stops?
Sometimes a roof leak stops when the rain stops. That does not mean the problem is solved. The roof may still have an opening that will leak again during the next storm.
Even if the leak dries, check for:
- Ceiling stains
- Musty odors
- Soft drywall
- Wet attic insulation
- Dark decking
- Peeling paint
- Water stains near windows
- Repeated dampness
A temporary pause in leaking should still be followed by inspection.
Insurance Considerations
If the leak may be storm-related, contact your insurance provider to understand coverage, deductibles, deadlines, documentation requirements, and claim steps.
Helpful records may include:
- Storm date notes
- Photos of roof or exterior damage
- Interior water damage photos
- Contractor inspection findings
- Temporary repair receipts
- Adjuster communication
- Repair estimates
Every policy is different, so claim guidance should come directly from the insurance provider.
Repair vs Replacement
An emergency roof leak does not always mean the entire roof must be replaced. The right solution depends on the age of the roof, the extent of storm damage, and the condition of the roof system.
Repair may make sense if:
- Damage is isolated
- A few shingles are missing
- One flashing area failed
- One pipe boot is damaged
- Gutters caused the water backup
- No widespread moisture is found
Replacement may be better if:
- Leaks keep returning
- Shingles are failing throughout
- Storm damage affects several slopes
- Decking is damaged
- The roof is near the end of its life
- Repairs no longer last
A professional inspection can help determine the best next step.
What Should Be Included in an Emergency Roof Inspection?
An emergency roof inspection should review the leak source and the connected exterior areas.
A contractor may check:
- Shingles
- Flashing
- Roof vents
- Pipe boots
- Roof valleys
- Gutters and downspouts
- Fascia and soffit
- Attic moisture
- Interior stains
- Siding near rooflines
- Storm damage areas
This helps identify whether the issue is isolated or part of a larger exterior problem.
Why a Full Exterior Inspection Helps
Storm leaks often involve more than one part of the home. Roofing, gutters, siding, windows, flashing, fascia, soffit, attic ventilation, and drainage all work together to keep water out.
A full exterior inspection may include:
- Roofing and roof edges
- Gutters and downspouts
- Siding and trim
- Windows and doors
- Flashing
- Fascia and soffit
- Attic and interior moisture signs
- Foundation drainage
- Storm damage areas
Huskie Exteriors provides roofing, siding, window, gutter, and storm damage restoration services, helping homeowners evaluate the full exterior after storm damage.
Why Local Exterior Experience Matters
A local contractor understands how Illinois storms affect homes. In Pontiac, IL, homes may face wind-driven rain, hail, snow, ice, humidity, and freeze-thaw cycles that can damage roofing, siding, gutters, windows, and trim.
Local experience helps homeowners determine whether a leak is caused by storm damage, missing shingles, flashing failure, clogged gutters, roof edge problems, siding gaps, or hidden moisture.
Conclusion
An emergency roof leak after a storm in Pontiac, IL should be handled carefully. Start with safety, protect the interior, document the damage, check visible warning signs, and contact a roofing contractor for inspection and temporary protection if needed. Even if the leak stops, the source should still be checked before the next storm.
If your home has an emergency roof leak, missing shingles, damaged flashing, gutter overflow, siding damage, attic moisture, or storm damage concerns, Huskie Exteriors can inspect your exterior and recommend the right next step.
Contact Huskie Exteriors for professional roofing, siding, window, gutter, and storm damage services in Illinois and Wisconsin.
Subscribe to Huskie Exteriors's Blog





Comments