
After a storm damages your home, the insurance process can feel confusing. You may notice missing shingles, dented gutters, cracked siding, window leaks, ceiling stains, or water around the exterior, but you may not know what the insurance adjuster will look for.
For homeowners in Dixon, IL, storm damage can happen after hail, wind, heavy rain, snow, ice, and freeze-thaw cycles. Some damage is easy to see from the ground, while other damage may be hidden around roof edges, flashing, attic spaces, gutters, siding, and windows.
This guide explains how homeowners can prepare for an insurance adjuster visit and what to check before the appointment.
What Does an Insurance Adjuster Do?
An insurance adjuster reviews reported damage and helps the insurance company evaluate the claim. The adjuster may inspect the property, review visible damage, take photos, and compare findings with the homeowner’s insurance policy.
The adjuster may look at:
- Roof damage
- Gutter damage
- Siding damage
- Window damage
- Interior water stains
- Storm impact areas
- Repair documentation
- Photos or notes from the homeowner
The insurance company makes coverage decisions based on the policy. A contractor can inspect damage and explain repair needs, but the insurance provider determines what is covered.
Why Preparation Matters
Preparing before the adjuster arrives can help homeowners stay organized. It also helps make sure visible damage, moisture signs, and exterior concerns are not overlooked.
Good preparation can help you:
- Share accurate storm details
- Show where damage appeared
- Provide photos and notes
- Point out interior leaks
- Explain when damage was noticed
- Keep repair records organized
- Ask better questions during the visit
The goal is to make the inspection clear and complete.
Step 1: Note the Storm Date
If the damage happened after a specific storm, write down the date and what happened. This can help organize your claim information.
Helpful details include:
- Date of the storm
- Approximate time
- Type of weather
- Hail, wind, or heavy rain
- Power outages if they occurred
- When you first noticed damage
- Whether neighbors had damage too
You do not need to know everything perfectly, but basic notes are helpful.
Step 2: Take Photos of Visible Damage
Photos can help document what you noticed before the adjuster visit. Focus on safe, ground-level photos unless a professional is inspecting higher areas.
Take photos of:
- Missing shingles
- Shingle pieces in the yard
- Dented gutters
- Dented downspouts
- Cracked siding
- Loose siding panels
- Broken screens
- Water stains
- Ceiling spots
- Basement moisture
- Tree or debris impact
Take wide photos and close-up photos when possible.
Step 3: Check the Roof From the Ground
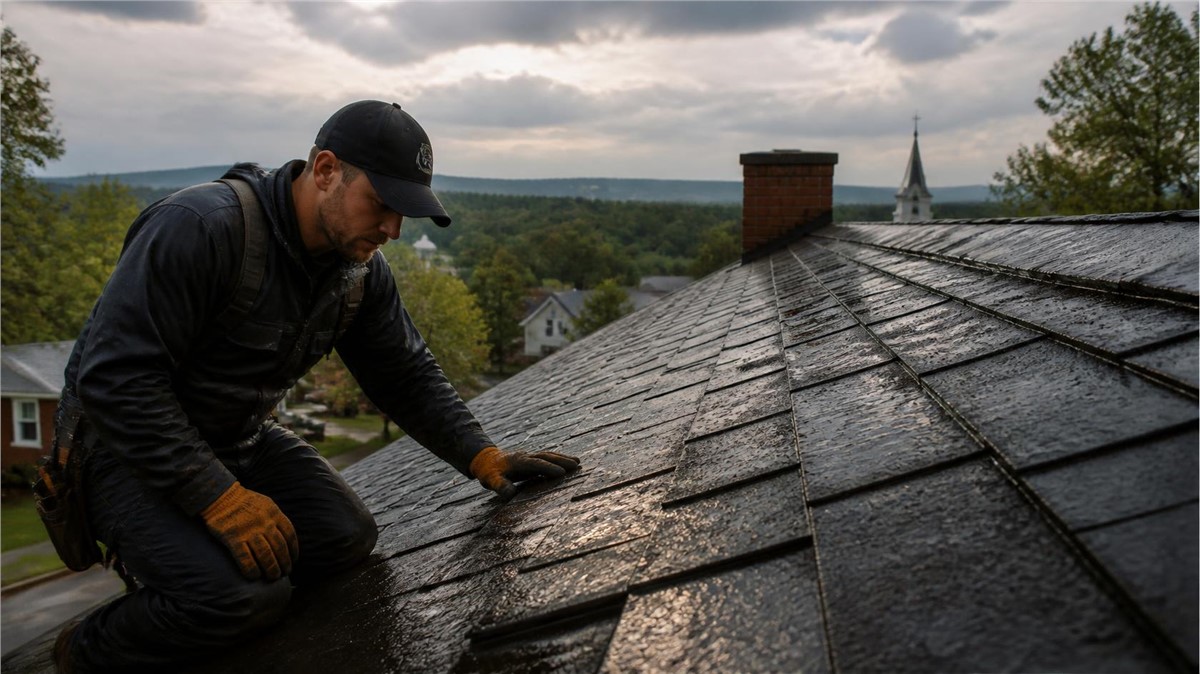
Do not climb onto the roof. Instead, look from the yard, driveway, or windows where safe.
Roof warning signs may include:
- Missing shingles
- Lifted shingles
- Uneven roof areas
- Damaged ridge caps
- Exposed underlayment
- Debris on the roof
- Dented vents
- Loose flashing
- Shingle granules near downspouts
If anything looks unusual, point it out during the adjuster visit.
Step 4: Check Gutters and Downspouts
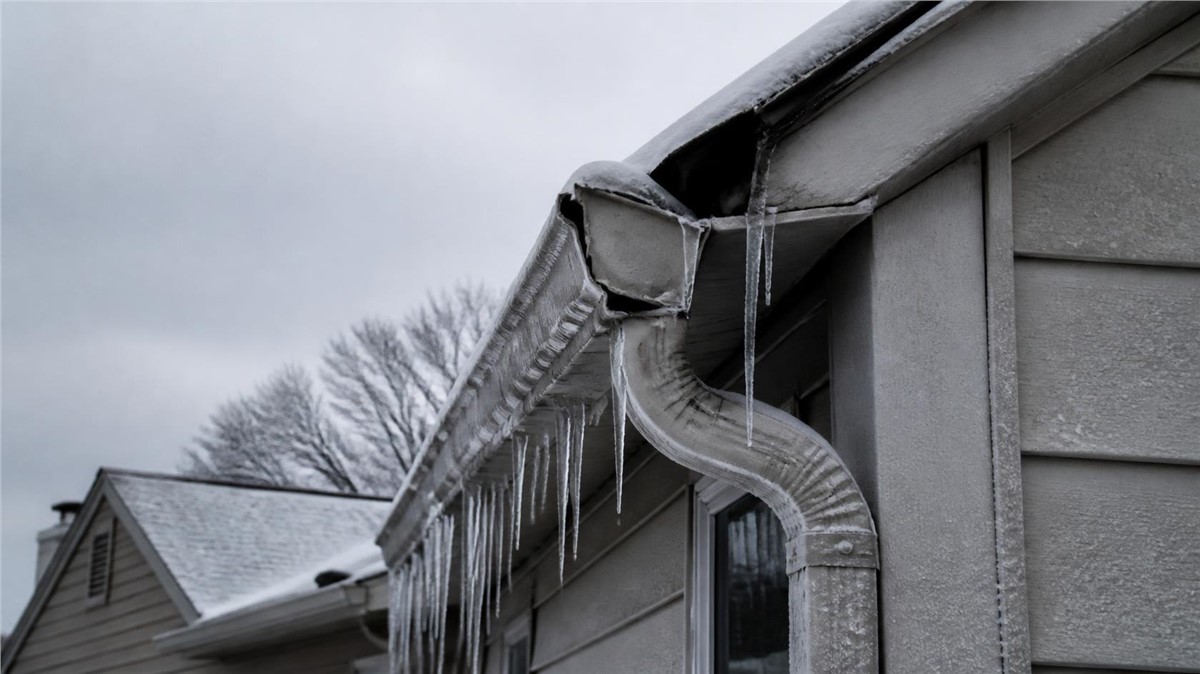
Gutters often show storm damage, especially after hail or wind. They also affect drainage around the home.
Look for:
- Dents
- Bent sections
- Leaking seams
- Sagging gutters
- Loose hangers
- Gutters pulling away
- Downspout dents
- Missing extensions
- Overflow marks
Gutter damage may also indicate hail impact on other exterior areas.
Step 5: Check Siding and Trim
Siding can be damaged by hail, wind, flying debris, and moisture. The storm-facing side of the home may show more damage.
Look for:
- Cracked siding
- Holes or punctures
- Loose panels
- Warped sections
- Dented trim
- Chipped corners
- Water stains
- Gaps around windows
- Soft trim
Siding damage should be documented because openings can allow water behind the wall system.
Step 6: Check Windows and Screens
Windows may show damage after hail, wind-driven rain, or flying debris. Some damage is obvious, while other problems may appear later.
Check for:
- Cracked glass
- Torn screens
- Bent screen frames
- Fogging between panes
- Loose exterior trim
- Water stains below windows
- Drafts after the storm
- Failed caulking
If you noticed water around a window during rain, include that in your notes.
Step 7: Look for Interior Water Signs
Storm damage outside may lead to moisture inside the home. Interior signs can help show where water may have entered.
Check:
- Ceilings
- Upper walls
- Around windows
- Attic access areas
- Closets near exterior walls
- Basement walls
- Around skylights
- Near chimneys
Warning signs include stains, damp drywall, peeling paint, bubbling paint, musty odors, and wet insulation.
Step 8: Check the Attic If Safe
The attic can show roof leaks before they appear in living areas. Only check the attic if it is safe and accessible.
Look for:
- Wet insulation
- Dark roof decking
- Water trails
- Rusted nails
- Musty odors
- Damp rafters
- Mold or mildew concerns
- Daylight through roof gaps
If you see moisture, take photos and avoid disturbing damaged materials.
Step 9: Keep Repair Records Together
If you made temporary repairs or hired someone to protect the home from further damage, keep those records organized.
Helpful documents include:
- Temporary repair receipts
- Contractor inspection notes
- Photos before cleanup
- Photos after temporary protection
- Material receipts
- Communication with your insurance provider
- Adjuster appointment details
Keeping everything in one folder can make the process easier to follow.
Step 10: Avoid Making Permanent Repairs Too Soon
Temporary protection may be necessary to reduce further damage, especially if water is entering the home. However, homeowners should avoid major permanent repairs before the damage is documented and the insurance provider gives guidance.
Temporary protection may include:
- Covering exposed areas
- Moving belongings away from leaks
- Placing buckets under drips
- Protecting flooring
- Marking wet areas
- Saving receipts
- Taking photos before cleanup
Always contact your insurance provider for instructions based on your policy.
Should a Contractor Be Present?
Some homeowners prefer to have a contractor inspect the property before or during the adjuster visit. A contractor can explain visible damage, provide repair recommendations, and help identify affected exterior areas.
A contractor may help by:
- Inspecting the roof and exterior
- Taking photos
- Identifying damage locations
- Explaining repair needs
- Checking related systems
- Providing an estimate
- Reviewing roof, siding, gutter, and window concerns
The contractor does not decide insurance coverage, but they can help homeowners understand the condition of the exterior.
Questions to Ask the Adjuster
During the visit, homeowners should ask clear questions so they understand the process.
Helpful questions include:
- What areas will you inspect?
- What damage did you document?
- What happens after the inspection?
- Will I receive a written report?
- What should I do if more damage is found?
- Are temporary repairs handled differently?
- What documents should I keep?
- Who should I contact with questions?
Take notes during or after the appointment.
Questions to Ask Your Contractor
A contractor can help explain the repair side of the process. Before repair work begins, ask practical questions.
Helpful questions include:
- What damage did you find?
- Is repair enough, or is replacement needed?
- Are gutters, siding, and windows affected?
- Is there moisture behind the materials?
- What is included in the estimate?
- What materials will be used?
- How long will repairs take?
- What warranty applies?
Clear answers help homeowners compare repair options.
Common Damage Adjusters May Review
Every claim is different, but storm-related exterior damage may involve more than one part of the home.
Common areas include:
- Shingles
- Ridge caps
- Roof vents
- Flashing
- Gutters
- Downspouts
- Siding
- Windows
- Screens
- Fascia
- Soffit
- Interior stains
Homeowners should make sure any visible concern is pointed out during the visit.
Roof Damage Signs to Mention
If you noticed roof problems after a storm, write them down before the adjuster arrives.
Mention signs such as:
- Shingles in the yard
- New ceiling stains
- Leaks during rain
- Granules near downspouts
- Dented roof vents
- Damage around chimneys
- Loose flashing
- Water entering the attic
These details can help guide the inspection.
Siding and Gutter Damage Signs to Mention
Storm damage beyond the roof can be easy to overlook. Siding and gutters should also be reviewed.
Mention:
- Dented gutters
- Cracked siding
- Loose siding panels
- Water stains below gutters
- Downspout damage
- Torn screens
- Window leaks
- Soft trim
- Overflow during rain
A full exterior review helps identify related damage.
What If More Damage Is Found Later?
Sometimes additional damage is discovered after the first inspection, especially when repairs begin or materials are removed. If that happens, homeowners should contact their insurance provider for next steps.
Possible hidden issues include:
- Damaged decking
- Wet insulation
- Moisture behind siding
- Rotted trim
- Failed flashing
- Hidden leaks
- Water-damaged sheathing
Documentation is important whenever new damage is found.
Insurance Considerations
Homeowners should contact their insurance provider directly for policy-specific guidance. Coverage, deductibles, deadlines, exclusions, and claim steps can vary.
Helpful information to confirm includes:
- Claim number
- Adjuster appointment time
- Documentation requirements
- Deductible amount
- Temporary repair guidance
- Claim communication process
- Deadlines
- Next steps after inspection
The insurance provider should be the source for coverage and claim decisions.
Repair vs Replacement
After the inspection, homeowners may need to compare repair and replacement options.
Repair may make sense if:
- Damage is isolated
- A few shingles are missing
- One gutter section is damaged
- Siding damage is limited
- No hidden moisture is present
- Materials can be matched
Replacement may be better if:
- Damage is widespread
- Leaks keep returning
- Shingles are failing
- Siding is cracked throughout
- Gutters are damaged in several areas
- Moisture has entered underlying materials
- Repairs would not last
A professional inspection can help homeowners understand the repair scope.
Why a Full Exterior Inspection Helps
Storm damage can affect roofing, siding, gutters, windows, fascia, soffit, flashing, trim, attic areas, and interior spaces. A roof-only review may miss related damage.
A full exterior inspection may include:
- Roofing and shingles
- Gutters and downspouts
- Siding and trim
- Windows and screens
- Flashing
- Fascia and soffit
- Attic moisture signs
- Interior stains
- Drainage areas
- Storm impact areas
Huskie Exteriors provides roofing, siding, window, gutter, and storm damage restoration services, helping homeowners evaluate the full exterior before and after storm damage repairs.
Why Local Exterior Experience Matters
A local contractor understands how Illinois storms affect homes. In Dixon, IL, wind, hail, heavy rain, snow, ice, humidity, and freeze-thaw cycles can damage roofing, siding, gutters, windows, trim, and drainage systems.
Local experience helps homeowners identify whether damage may be connected to storm impact, aging materials, moisture intrusion, poor drainage, flashing issues, or hidden exterior problems.
Conclusion
Preparing for an insurance adjuster visit in Dixon, IL starts with organization. Homeowners should note the storm date, take photos, check roofing, siding, gutters, windows, attic areas, interior stains, drainage, and keep repair records together. Clear documentation and a full exterior inspection can make the process easier to understand.
If your home has storm damage, roof leaks, dented gutters, cracked siding, damaged windows, moisture concerns, or exterior wear, Huskie Exteriors can inspect your home and recommend the right next step.
Contact Huskie Exteriors for professional roofing, siding, window, gutter, and storm damage services in Illinois and Wisconsin.
Subscribe to Huskie Exteriors's Blog







Comments