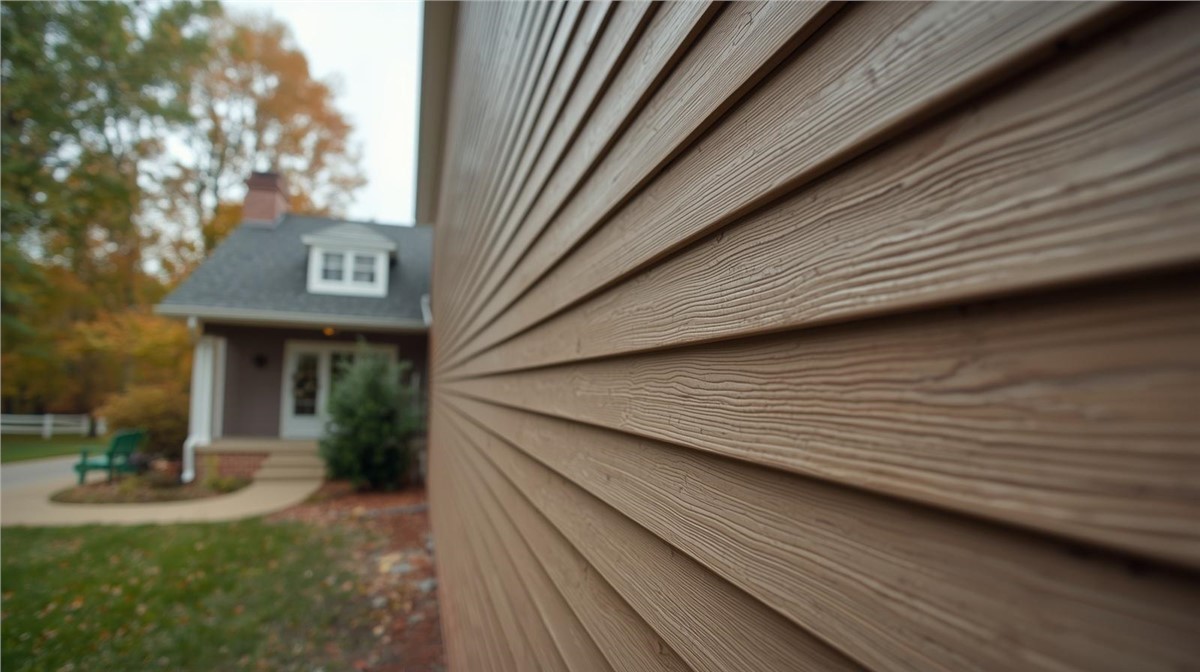
Siding replacement is a major exterior project, and one of the first questions homeowners ask is: how long will it take?
For homeowners in Milton, WI, the siding replacement timeline can vary based on the condition of the home, the type of siding selected, and whether hidden issues are found after the old siding is removed. Wisconsin weather can also affect scheduling, especially when heavy rain, snow, ice, wind, or freezing temperatures make exterior work unsafe or difficult.
This guide explains what homeowners can expect during the siding replacement process, from inspection to final cleanup.
Step 1: Initial Siding Inspection
The process usually begins with an exterior inspection. A contractor checks the current siding condition and looks for damage, aging, storm impact, moisture concerns, or installation issues.
An inspection may include:
- Cracked siding
- Loose panels
- Warped or buckled areas
- Hail damage
- Wind damage
- Faded or brittle siding
- Soft trim
- Moisture stains
- Gaps around windows and doors
- Damaged corner pieces
- Siding pulling away from the wall
This inspection helps determine whether siding repair or full replacement is the better option.
Step 2: Reviewing Repair vs Replacement
Before scheduling a siding replacement, the contractor should explain why replacement is recommended.
Siding repair may make sense if:
- Damage is isolated
- Only a few panels are affected
- Matching siding is available
- No moisture damage is present
- The siding is still performing well overall
Siding replacement may be better if:
- Damage affects multiple walls
- Siding is faded, brittle, or warped
- Storm damage is widespread
- Moisture is present behind the siding
- Repairs would not match well
- Panels keep coming loose
- The home needs a full exterior update
A clear recommendation helps homeowners understand the reason for the project.
Step 3: Preparing the Estimate
After the inspection, the contractor prepares a siding replacement estimate. A detailed estimate should explain the full scope of work, not just the price.
A siding estimate may include:
- Siding material
- Siding color and profile
- Tear-off details
- House wrap or weather barrier
- Flashing details
- Trim and corner pieces
- Moisture repair notes
- Cleanup and disposal
- Timeline expectations
- Warranty information
- Cost factors
The more detailed the estimate, the easier it is to compare options and avoid confusion.
Step 4: Choosing Materials and Colors
Material selection can affect the timeline. Some siding products, colors, profiles, or accent styles may be available quickly, while others may require ordering.
Common siding options include:
- Vinyl siding
- Insulated vinyl siding
- Fiber cement siding
- Engineered wood siding
- Wood siding
- Metal or accent siding materials
Homeowners should also choose trim colors, corner details, gable accents, shutters if needed, and any specialty design features before installation is scheduled.
Step 5: Scheduling the Project
Once the estimate is approved and materials are selected, the project can be scheduled. Timing may depend on contractor availability, material delivery, weather, and the size of the home.
Scheduling factors may include:
- Home size
- Number of stories
- Siding material availability
- Tear-off needs
- Weather forecast
- Crew availability
- Storm damage demand in the area
- Trim or accent details
In Milton, heavy rain, high wind, snow, or icy conditions can delay exterior work for safety and installation quality.
Step 6: Preparing Your Home
Before siding replacement begins, homeowners can help make the process smoother by preparing the property.
Helpful steps include:
- Move vehicles away from work areas
- Clear items from patios and decks
- Trim back landscaping if needed
- Remove wall decorations from exterior walls
- Keep pets and children away from work zones
- Make room for material delivery
- Secure fragile items on interior walls
- Discuss access points with the contractor
Siding work can create vibration on exterior walls, so it is helpful to remove delicate items from nearby interior walls.
Step 7: Removing the Old Siding
If tear-off is included, the old siding is removed before new siding is installed. This step allows the contractor to inspect the wall surface underneath.
Old siding removal may reveal:
- Damaged house wrap
- Moisture behind siding
- Rotted sheathing
- Pest damage
- Poor previous installation
- Soft trim
- Hidden storm damage
Tear-off can affect the timeline, especially if hidden repairs are discovered.
Step 8: Inspecting the Wall System
After old siding is removed, the contractor can inspect the wall surface more closely. This is an important step because new siding should be installed over a sound and properly prepared surface.
The inspection may look for:
- Soft or damaged sheathing
- Water stains
- Mold or mildew concerns
- Gaps around windows
- Damaged weather barrier
- Old fastener damage
- Wall unevenness
- Trim damage
If repairs are needed, they should be completed before the new siding is installed.
Step 9: Installing House Wrap and Flashing
A proper siding system needs moisture protection behind the panels. House wrap or a weather-resistant barrier helps manage air and moisture around the wall system.
This stage may include:
- Installing new house wrap
- Repairing damaged barrier areas
- Taping seams
- Flashing windows and doors
- Sealing exterior penetrations
- Preparing trim transitions
Flashing is especially important around windows, doors, vents, rooflines, and wall transitions. These areas are common leak points.
Step 10: Installing New Siding
Once the wall surface is prepared, the new siding can be installed. The timeline depends on the siding material, home size, number of walls, and exterior details.
Installation may include:
- Starter strips
- Siding panels
- Corner posts
- Window and door trim
- J-channel
- Gable areas
- Accent sections
- Utility blocks
- Vent blocks
- Soffit and fascia tie-ins
A simple home with clear wall sections may move faster than a home with many windows, dormers, corners, porches, or decorative accents.
Step 11: Trim, Corners, and Detail Work
Trim and detail work can add time, but it is important for both appearance and protection.
Detail work may include:
- Window trim
- Door trim
- Corner pieces
- Gable accents
- Board and batten sections
- Shake-style accents
- Exterior vent blocks
- Utility penetrations
- Caulking where needed
Good detail work helps the siding look finished and helps protect vulnerable areas from water intrusion.
Step 12: Cleanup and Final Walkthrough
After installation is complete, cleanup should be completed around the home.
Cleanup may include:
- Removing old siding
- Removing packaging
- Cleaning debris
- Checking for nails and fasteners
- Clearing work areas
- Reviewing finished walls
- Final walkthrough with the homeowner
During the final walkthrough, homeowners can ask questions and review the completed work.
What Can Delay Siding Replacement?
Several factors can extend the siding replacement timeline.
Common delays include:
- Heavy rain
- High wind
- Snow or ice
- Material delays
- Hidden moisture damage
- Rotted sheathing
- Complex trim details
- Storm damage demand
- Difficult access
- Changes to material or color selections
Some delays are outside the contractor’s control, but clear communication helps homeowners know what to expect.
How Long Does Siding Replacement Usually Take?
The timeline depends on the size and complexity of the home. Smaller homes with simple siding layouts may move faster, while larger homes or detailed exterior designs can take longer.
Timeline factors include:
- Number of walls
- Number of stories
- Type of siding
- Amount of tear-off
- Trim complexity
- Weather conditions
- Hidden repairs
- Crew access
- Cleanup needs
A contractor can provide a more accurate timeline after inspecting the home and confirming the project scope.
Storm Damage and Siding Replacement
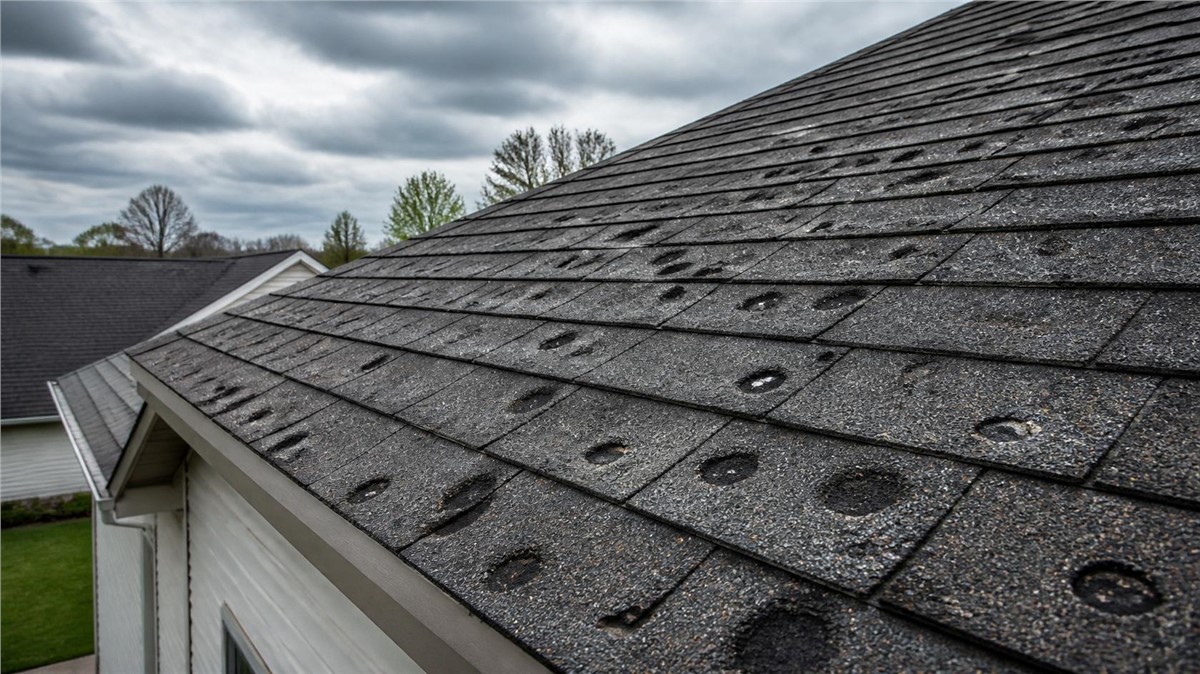
Milton homes can be affected by hail, wind, heavy rain, snow, ice, and freeze-thaw cycles. Storm damage may affect siding, roofing, gutters, windows, trim, fascia, and soffit during the same event.
Storm-related siding concerns may include:
- Cracked vinyl panels
- Holes or punctures
- Loose siding sections
- Broken corner pieces
- Dented gutters
- Torn window screens
- Damaged trim
- Water behind siding
If siding replacement is related to storm damage, the full exterior should be inspected before work begins.
Why Gutters Should Be Checked Too
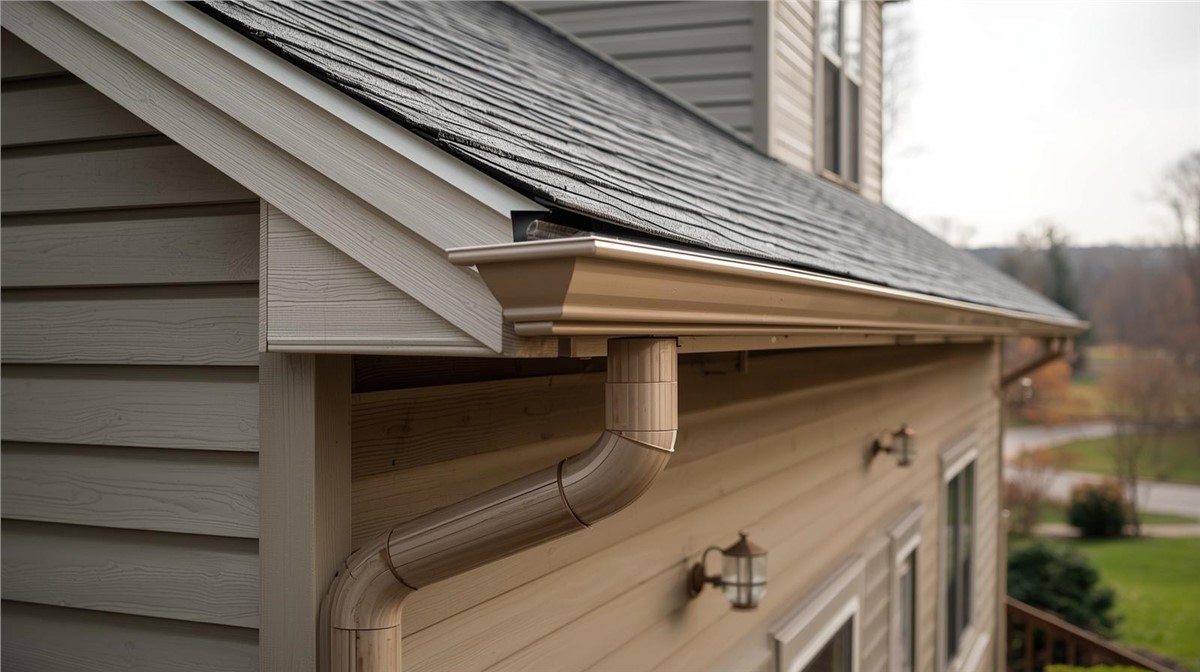
Gutters and downspouts affect siding performance. If gutters overflow, leak, or drain too close to the home, water can run down the siding and create stains, moisture problems, or lower-wall damage.
Gutter concerns may include:
- Leaking seams
- Sagging sections
- Short downspouts
- Overflow during storms
- Ice buildup near rooflines
- Water pooling near the foundation
- Fascia or soffit damage
If gutter problems contributed to siding damage, they should be addressed as part of the exterior plan.
How Homeowners Can Help the Project Stay on Track
Homeowners can help keep the project organized by making decisions early and preparing the property.
Helpful steps include:
- Choose siding colors before scheduling
- Confirm trim and accent details
- Clear outdoor work areas
- Move vehicles from the driveway
- Keep pets indoors or away from work zones
- Ask questions before work begins
- Stay available for project updates
- Review the final work before completion
Good preparation can help avoid unnecessary delays.
Why a Full Exterior Inspection Helps
Siding works with the full exterior system. Roofing, gutters, windows, flashing, fascia, soffit, trim, and drainage all affect how water moves around the home.
A full exterior inspection may include:
- Siding
- Roofing and roof edges
- Gutters and downspouts
- Windows and trim
- Fascia and soffit
- Flashing
- Interior moisture signs
- Storm damage areas
Huskie Exteriors provides roofing, siding, window, gutter, and storm damage restoration services, helping homeowners evaluate the full exterior system.
Why Local Exterior Experience Matters
A local contractor understands how Wisconsin weather affects siding replacement timelines. In Milton, WI, homes need siding systems that can handle hail, wind, rain, snow, ice, humidity, heat, and freeze-thaw cycles.
Local experience helps homeowners understand whether the timeline is affected by storm damage, moisture repairs, material selection, trim complexity, gutters, flashing, or weather delays.
Conclusion
The siding replacement timeline in Milton, WI depends on inspection findings, home size, siding material, tear-off needs, wall condition, moisture repairs, trim details, weather, and material availability. A simple project may move quickly, while larger homes, storm damage, hidden repairs, or detailed exterior designs can take longer.
If your siding is cracked, loose, faded, storm-damaged, moisture-damaged, or ready for replacement, Huskie Exteriors can inspect your home and recommend the right next step.
Contact Huskie Exteriors for professional roofing, siding, window, gutter, and storm damage services in Illinois and Wisconsin.
Subscribe to Huskie Exteriors's Blog





Comments