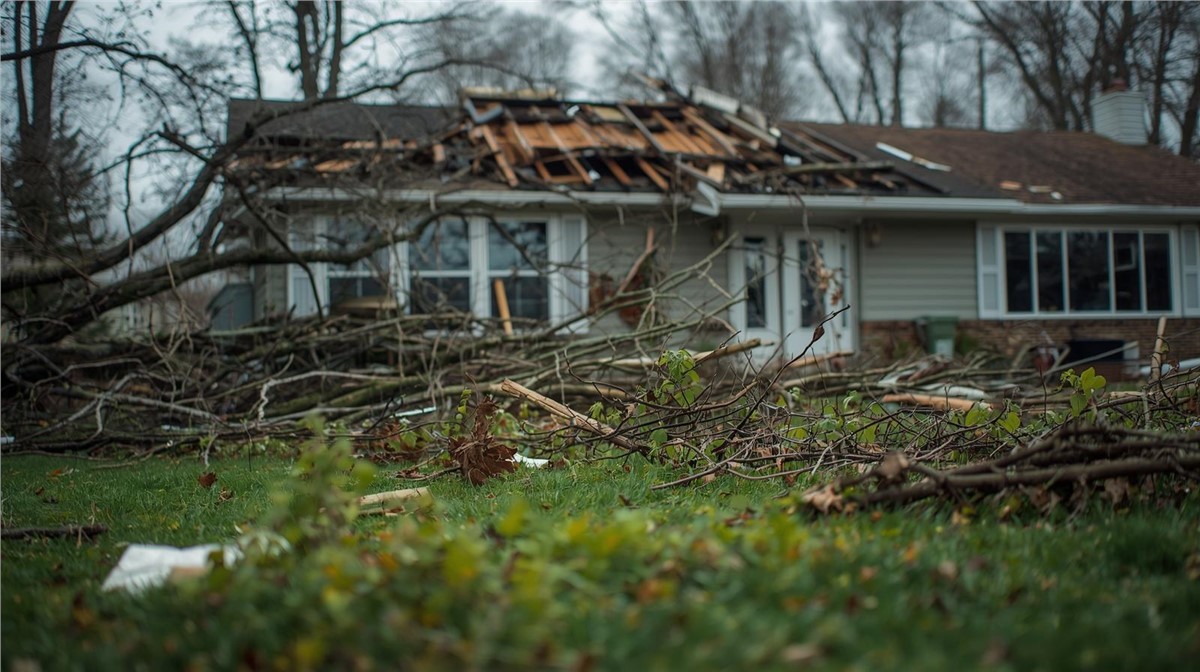
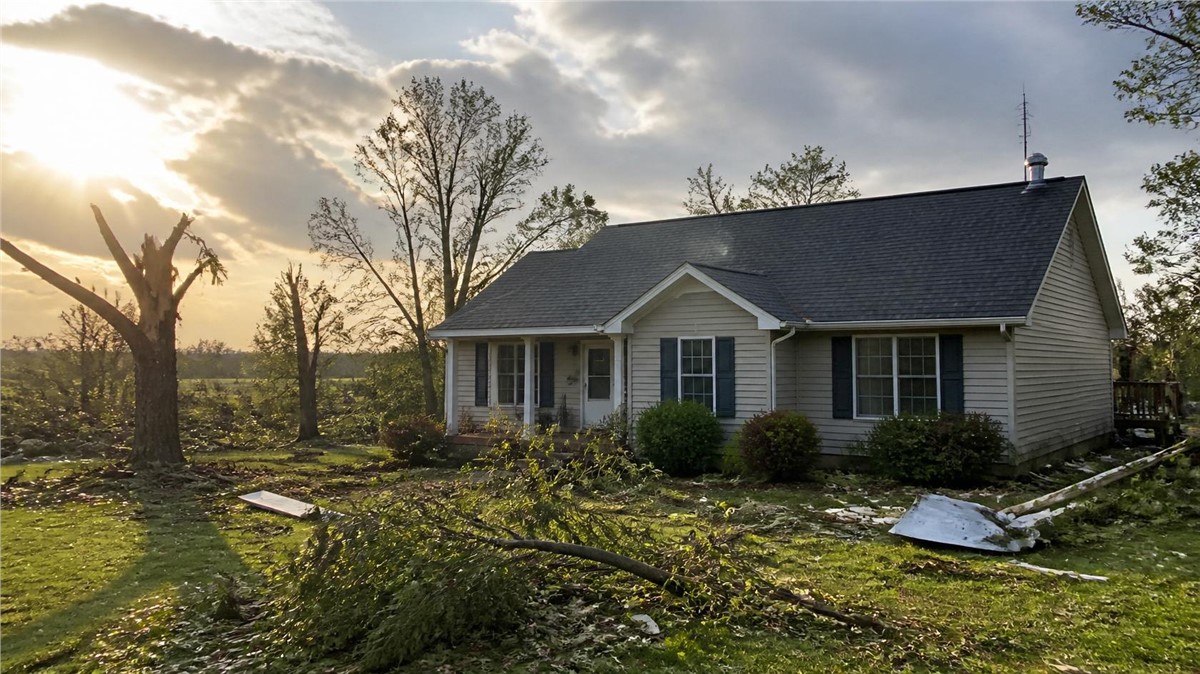
Before a single repair is made to a storm-damaged home in Orangeville, IL, documentation is the most important thing a homeowner can do. What you photograph, record, and preserve in the days after a storm directly affects how your insurance claim proceeds — and how much of the restoration cost is covered. This guide covers exactly what to document, how to do it, and what to avoid before repairs begin.
Why Documentation Comes Before Repairs
The instinct after a storm is to fix things. A tarp over the roof, boards on the windows, a call to the first contractor who picks up. That instinct is understandable — but acting on it before the damage is properly documented can quietly undermine an insurance claim that would otherwise cover the full restoration cost.
Insurance adjusters assess what they can see. Permanent repairs that have already removed or covered damaged material give the adjuster less to evaluate — and give the insurer more latitude to dispute the scope of the original loss. Temporary protective measures are expected and appropriate. Permanent repairs before adjuster assessment are not.
Orangeville is a small community in Stephenson County in northwestern Illinois, in a part of the state that sees consistent severe weather across spring and summer storm seasons. Hail, high winds, and fast-moving frontal systems affect this region regularly. For homeowners here, knowing the documentation process before the next storm is more useful than learning it under pressure after one.
Step One: Photograph Every Exterior System
The first documentation task is a systematic photographic record of the full property exterior — taken as soon as it is safe to do so after the storm.
What to photograph:
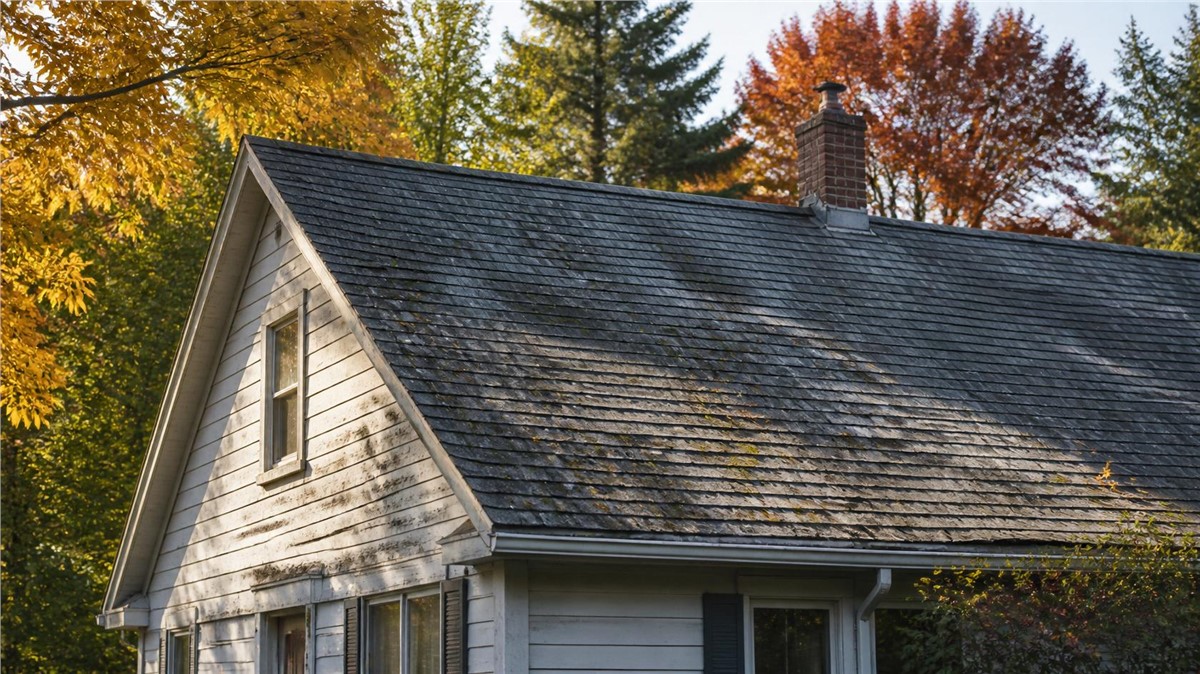
- Every roof slope from the ground — wide-angle shots that show overall condition and any obviously missing or displaced material
- Gutters along every elevation — hail denting on aluminum gutters is one of the most reliable and visually clear damage indicators on a property
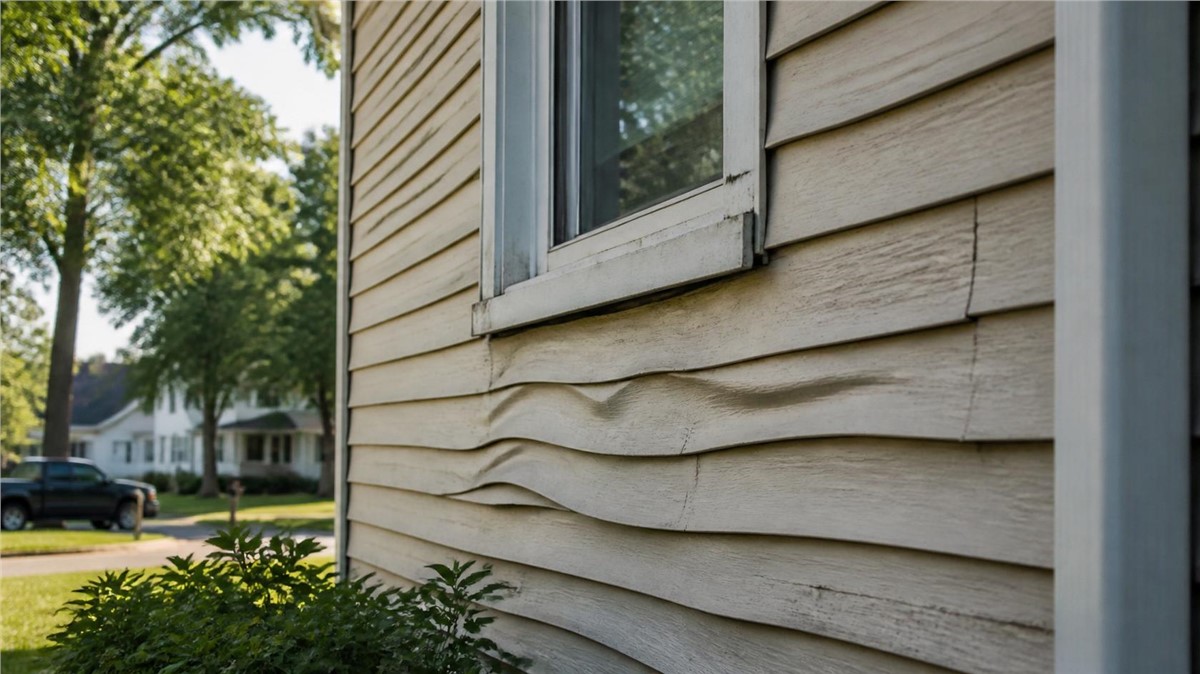
- Every siding elevation — field panels, corners, trim, window and door surrounds
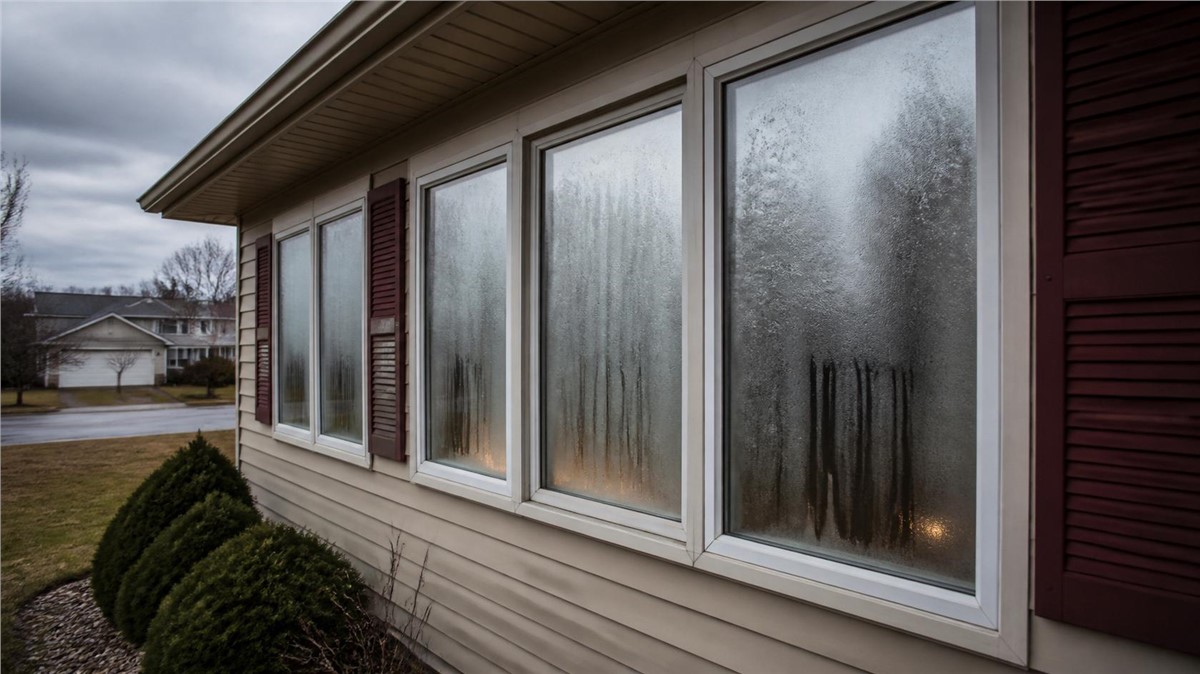
- All windows and glazing — full unit shots and close-ups of any cracked or chipped glass
- Any detached structures — garage, outbuildings, fencing
- HVAC equipment and any rooftop or exterior mechanical components
- Landscaping damage that may be covered under the policy
How to photograph effectively:
Use a device that embeds date and time metadata automatically — most smartphones do this. Start each session with a wide establishing shot that shows the full elevation, then move to close-ups of specific damage items. Photograph from multiple angles where the damage allows. More documentation is always better than less — storage is free and adjuster disputes are not.
Step Two: Record the Storm Event Details
Your photographic record is stronger when it is paired with documentation of the specific storm event.
Note the date and approximate time the storm occurred. In the days following, check the National Weather Service Storm Prediction Center for storm reports from your area — hail size, wind speed, and storm track data are publicly available for documented severe weather events and can be retrieved by date and location. Print or save these records alongside your photographs.
This weather documentation matters particularly if the claim is filed after the immediate post-storm period. It establishes that a specific, documented event of a specific severity affected your property location on the claimed date — which is the foundation of a defensible claim.
Step Three: Document Interior Damage
Storm damage does not stay on the exterior. Water that infiltrates through a compromised roof, cracked siding, or failed window seal travels into the wall system and eventually produces interior symptoms. Document these findings before any drying or remediation begins.
What to document inside:
- Ceiling stains — photograph the full stain pattern and measure its dimensions
- Wet insulation in the attic — photograph location and extent
- Water on floors or pooled against walls
- Damaged personal property — furniture, electronics, inventory if a home-based business is involved
- Any mold or mildew growth that is visible within days of the storm
Interior damage documentation serves two purposes: it supports the property damage claim and it may support a claim for personal property losses under a separate coverage component of your policy.
Step Four: Apply Temporary Protection — and Document That Too
Temporary protective measures are expected by insurers and do not compromise a claim. What matters is that they are documented as temporary — not permanent repairs.
Acceptable temporary measures include:
- Commercial-grade membrane or tarp over open roof areas — photograph the tarp installation before and after
- Boarding or temporary glazing of broken windows — photograph the broken glazing before boards are applied
- Sealing of cracked siding panels at the impact point — photograph the crack before sealing
Keep all receipts for materials purchased for temporary protection. These costs are typically reimbursable as part of the claim.
What to avoid before the adjuster visits:
- Replacing damaged shingles or siding panels permanently
- Removing damaged material that has not been photographed
- Accepting a repair from a door-to-door contractor before the adjuster has assessed the damage
- Signing an assignment of benefits agreement that transfers claim rights from you to the contractor
Step Five: Get a Professional Inspection Report
A professional contractor inspection produces documentation that a homeowner walk-around cannot — close-range assessment of the full roof surface, hands-on evaluation of shingle mat condition, and a written report with photographs from the roof surface that attributes specific findings to the storm event.
This report is submitted alongside your insurance claim and serves as an independent professional assessment of the damage scope. When an adjuster's initial assessment misses items — second-story siding damage, soffit condition, flashing failures — the contractor's report is the basis for a supplement claim that recovers those costs.
Schedule the contractor inspection as soon as possible after the storm — ideally before the adjuster's visit if timing allows. Having the written report in hand during the adjuster's visit gives you an independent reference point for every finding.
Working With a Local Contractor in Orangeville, IL
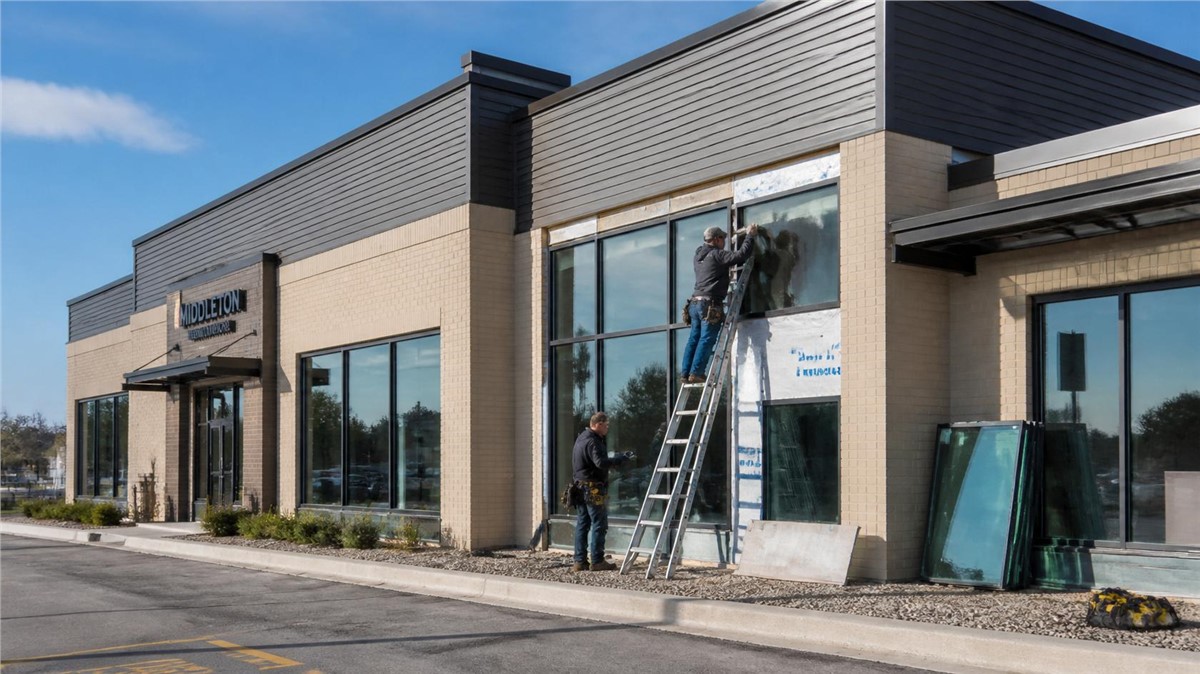
Stephenson County homeowners benefit from working with a contractor who has established presence in the region — not a storm-chasing operation that arrives after the event and disappears when warranty questions arise later.
A local contractor who understands the claims process, provides written inspection reports, and supports supplement claims when initial adjuster assessments are incomplete is a partner in the restoration process — not just a vendor who does the physical work.
Contact Huskie Exteriors for professional roofing, siding, window, gutter, and storm damage services in Illinois and Wisconsin. If your Orangeville home sustained storm damage, our team is ready to inspect, document, and help you navigate the claims process from initial assessment through completed restoration.
Subscribe to Huskie Exteriors's Blog





Comments