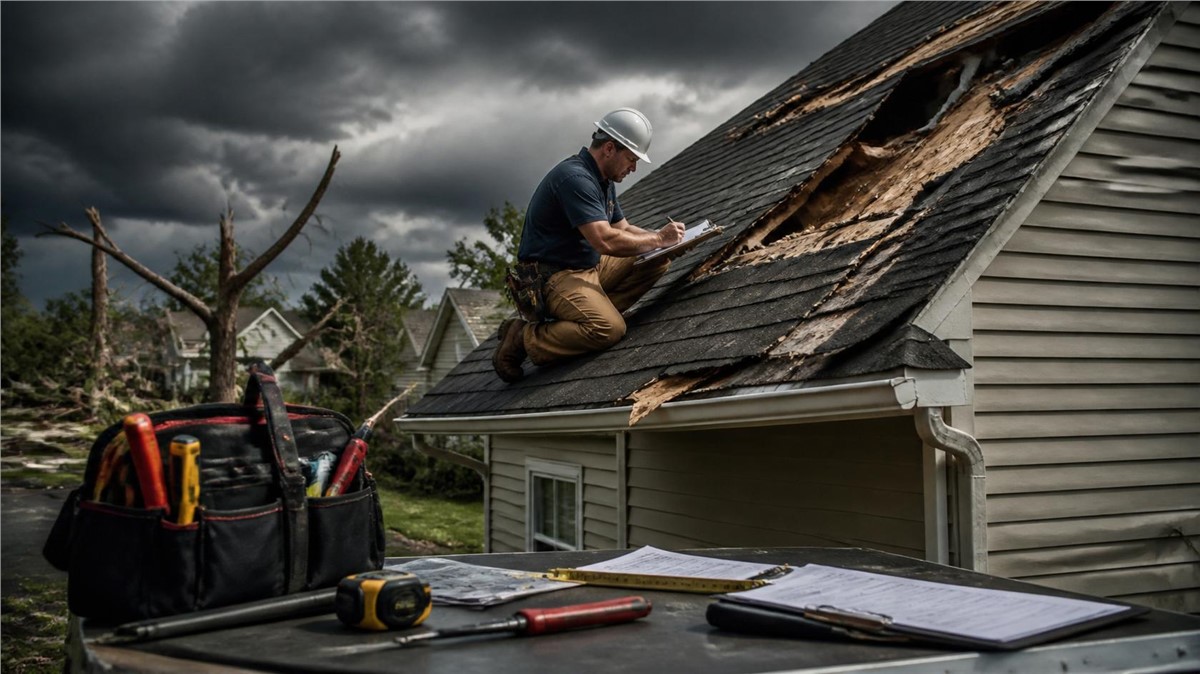
After a strong storm, homeowners often want to know one thing first: how long will the repair process take? The answer depends on the type of damage, the weather, material availability, insurance steps, and whether the storm affected the roof, siding, gutters, windows, or multiple exterior systems.
For homeowners in Rochelle, IL, storm damage restoration is especially important because northern Illinois weather can bring hail, wind, heavy rain, snow, ice, and freeze-thaw cycles. Some damage is easy to see right away. Other problems, such as hidden roof leaks, moisture behind siding, or damaged flashing, may take longer to notice.
This guide explains what to expect from inspection to repair.
Step 1: Safety Check After the Storm
The first step after severe weather is safety. Before looking closely at damage, homeowners should make sure the area around the home is safe.
Avoid:
- Climbing onto the roof
- Touching downed wires
- Standing under loose gutters
- Walking under damaged siding or soffit
- Moving heavy branches alone
- Entering wet areas near electrical items
- Walking on icy or slippery surfaces
If there is active danger, block off the area and contact the proper professional before continuing.
Step 2: Ground-Level Damage Review
Once conditions are safe, homeowners can check visible damage from the ground. This helps identify urgent concerns before a contractor arrives.
Look for:
- Missing shingles
- Shingles in the yard
- Dented gutters
- Cracked siding
- Loose downspouts
- Broken window glass
- Torn screens
- Fallen branches
- Water pooling near the home
- Interior ceiling stains
Take photos and note the storm date. This information can be helpful during the inspection and repair process.
Step 3: Professional Storm Damage Inspection
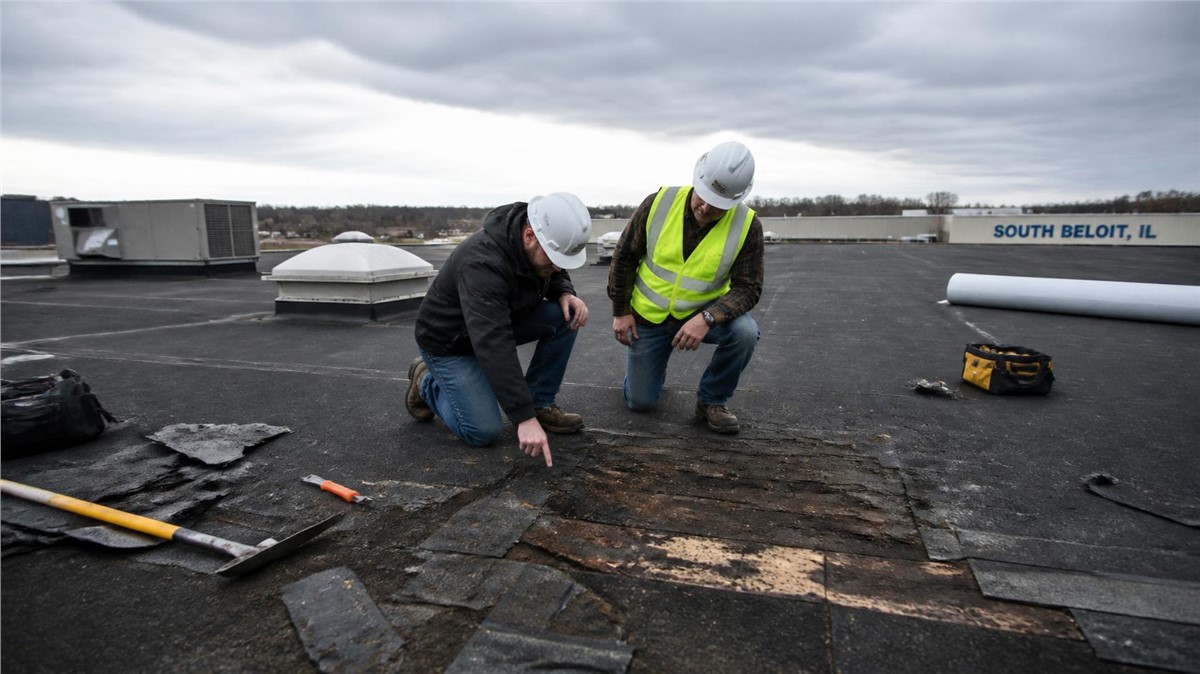
A professional inspection is where the restoration timeline becomes clearer. The contractor checks the home’s exterior and looks for visible and hidden storm damage.
An inspection may include:
- Roofing and shingles
- Roof vents and ridge caps
- Flashing
- Gutters and downspouts
- Siding
- Windows and screens
- Fascia and soffit
- Exterior trim
- Attic moisture signs
- Interior water stains
The goal is to understand the full scope of damage before repairs begin.
Step 4: Roof Damage Review
The roof is one of the most important areas to inspect after a storm. Wind, hail, rain, and debris can damage shingles, flashing, vents, valleys, and roof edges.
Contractors may check for:
- Missing shingles
- Lifted shingles
- Cracked shingles
- Hail bruising
- Granule loss
- Damaged ridge caps
- Dented vents
- Loose flashing
- Soft roof areas
- Signs of leaks
Even if the roof is not leaking yet, storm damage should be addressed before the next heavy rain or snowmelt.
Step 5: Siding Damage Review
Siding protects the wall system from wind and moisture. Storm damage to siding may create openings where water can enter behind the exterior surface.
Siding damage may include:
- Cracked panels
- Holes or punctures
- Loose siding
- Missing sections
- Warped panels
- Dented trim
- Water stains
- Gaps near windows
- Damage around corners
If siding damage is widespread, replacement may be more practical than small repairs.
Step 6: Gutter and Drainage Check
Gutters and downspouts are often damaged during storms. They also reveal clues about roof damage, especially when shingle granules collect inside the gutters.
A gutter inspection may include:
- Dented gutters
- Leaking seams
- Sagging sections
- Loose hangers
- Clogged downspouts
- Poor drainage direction
- Water near the foundation
- Fascia damage
- Overflow signs
Drainage problems should be addressed because water can damage siding, foundations, walkways, and basement areas.
Step 7: Window and Trim Inspection
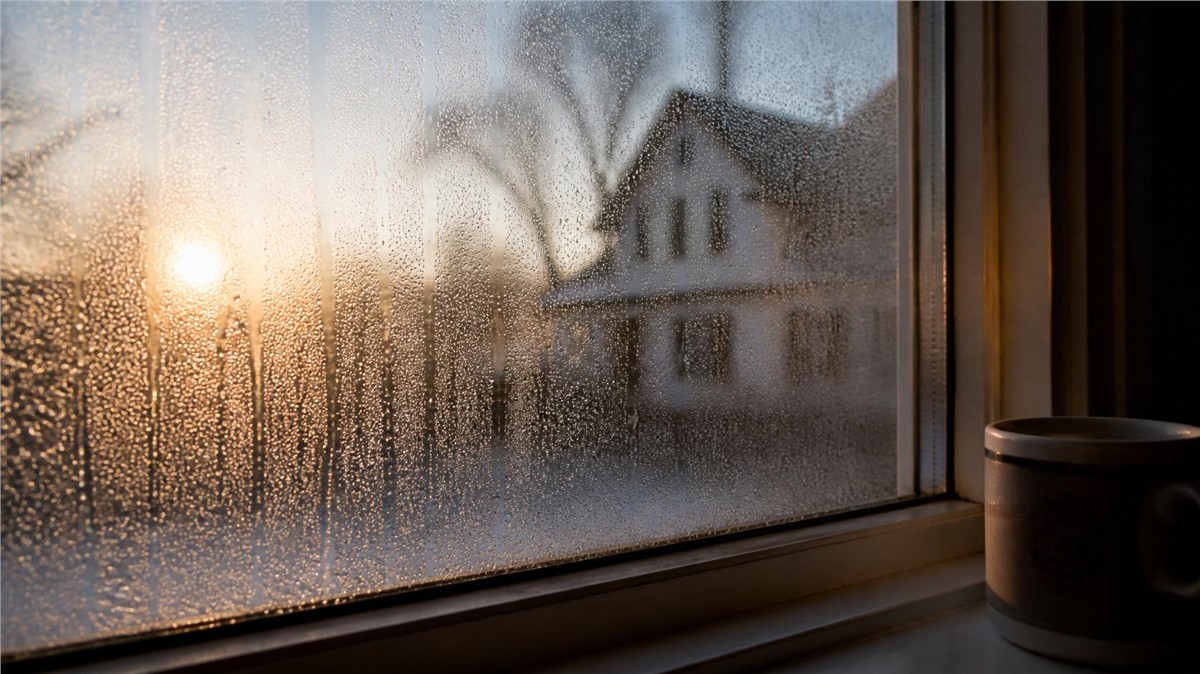
Storms can damage windows, screens, seals, caulking, and trim. Some problems are visible right away, while seal failure or leaks may appear later.
Window concerns include:
- Cracked glass
- Fogging between panes
- Torn screens
- Loose trim
- Failed caulking
- Drafts
- Water stains below windows
- Damaged frames
Window leaks may also be connected to siding, flashing, or gutter problems above the opening.
Step 8: Temporary Protection if Needed
Some storm damage needs temporary protection before permanent repairs can be completed. This is common when water is entering the home or exterior materials are loose.
Temporary protection may include:
- Covering exposed roof areas
- Securing loose siding
- Redirecting water
- Blocking off unsafe areas
- Protecting interior spaces
- Removing loose debris
- Sealing small emergency openings
Temporary protection helps reduce additional damage while the full repair plan is prepared.
Step 9: Damage Documentation
Documentation is an important part of the restoration timeline. It helps homeowners understand what was found and may also support insurance communication if storm damage is involved.
Documentation may include:
- Photos of roof damage
- Photos of siding damage
- Gutter and downspout notes
- Window damage photos
- Interior water stain records
- Storm date notes
- Inspection findings
- Repair recommendations
Good documentation makes the next steps easier to manage.
Step 10: Insurance Communication if Needed
If damage may be storm-related, homeowners should contact their insurance provider to understand coverage, deductibles, deadlines, documentation requirements, and claim steps.
Helpful records may include:
- Storm date notes
- Photos from the ground
- Contractor inspection findings
- Interior water stain photos
- Temporary repair receipts
- Adjuster notes
Every policy is different, so claim guidance should come directly from the insurance provider.
Step 11: Repair Scope and Estimate
After the inspection, the contractor prepares a repair scope and estimate. This should explain what needs repair, what may need replacement, and what work should happen first.
A storm damage estimate may include:
- Roofing repair needs
- Siding repair needs
- Gutter replacement or repair
- Window and trim concerns
- Flashing repairs
- Fascia and soffit work
- Material recommendations
- Timeline expectations
- Cleanup details
- Warranty information
The estimate should be clear enough for homeowners to understand the project before work begins.
Step 12: Material Ordering
Material availability can affect the restoration timeline. Some materials may be available quickly, while others may require more time, especially if color matching or special orders are needed.
Material timing may depend on:
- Shingle color
- Siding profile
- Window size
- Gutter style
- Trim material
- Manufacturer availability
- Storm demand in the area
- Matching older materials
If exact material matches are not available, the contractor may explain repair alternatives.
Step 13: Scheduling the Repairs
Once the scope is approved and materials are ready, the repair work can be scheduled. Timing may depend on weather, crew availability, project size, and whether multiple exterior systems need attention.
Scheduling may consider:
- Rain or snow forecast
- Temperature conditions
- Roof safety
- Material delivery
- Access around the home
- Parking needs
- Cleanup areas
- Work sequence
Storm repair schedules may shift if weather creates unsafe conditions.
Step 14: Completing the Repairs
The repair phase depends on the damage found. Some projects involve one area, while others require several exterior systems to be repaired together.
Repairs may include:
- Replacing damaged shingles
- Repairing flashing
- Replacing siding panels
- Installing new gutters
- Repairing downspouts
- Fixing fascia or soffit
- Replacing damaged window components
- Correcting drainage issues
The priority is to restore weather protection and prevent future moisture problems.
Step 15: Final Walkthrough and Cleanup
After repairs are complete, the contractor should review the work area and clean up debris.
A final walkthrough may include:
- Reviewing completed repairs
- Checking repaired roof areas
- Confirming gutter drainage
- Inspecting siding repairs
- Reviewing window or trim work
- Removing debris
- Answering homeowner questions
- Reviewing warranty details
This final step helps homeowners understand what was completed and what maintenance may be needed later.
What Can Delay Storm Damage Restoration?
Storm restoration timelines can vary because several factors affect the process.
Common delays include:
- Bad weather
- Material backorders
- Insurance review
- Hidden moisture damage
- Structural repairs
- Matching older materials
- Heavy storm activity in the area
- Additional damage found during work
A good contractor should communicate delays clearly and explain what comes next.
Repair vs Replacement After Storm Damage
Some storm damage can be repaired. Other damage may require replacement if it is widespread or affects performance.
Repair may make sense if:
- Damage is isolated
- Materials are still in good condition
- Matching products are available
- No hidden moisture is found
- The system is still performing well
Replacement may be better if:
- Damage is widespread
- Leaks keep returning
- Materials are old or brittle
- Moisture is behind siding
- Gutters are damaged throughout
- Storm damage affects multiple areas
A professional inspection helps determine the right path.
Why a Full Exterior Inspection Helps
Storms often damage more than one part of the home. A roof inspection alone may miss siding, gutters, windows, fascia, soffit, flashing, or drainage problems.
A full exterior inspection may include:
- Roofing
- Siding
- Gutters and downspouts
- Windows and screens
- Flashing
- Fascia and soffit
- Exterior trim
- Attic moisture signs
- Interior water stains
- Drainage areas
Huskie Exteriors provides roofing, siding, window, gutter, and storm damage restoration services, helping homeowners evaluate the full exterior system after severe weather.
Why Local Exterior Experience Matters
A local contractor understands how Illinois storms affect homes. In Rochelle, IL, exterior systems must handle wind, hail, heavy rain, snow, ice, humidity, and freeze-thaw cycles.
Local experience helps homeowners understand whether damage is cosmetic, repairable, storm-related, drainage-related, or connected to hidden moisture.
Conclusion
A storm damage restoration timeline in Rochelle, IL usually starts with safety, inspection, documentation, temporary protection if needed, insurance communication when applicable, repair planning, material ordering, scheduling, and final repairs. The exact timeline depends on the damage, weather, materials, and whether roofing, siding, gutters, windows, or multiple exterior systems are involved.
If your home has storm damage, roof leaks, missing shingles, cracked siding, damaged gutters, window issues, or drainage problems, Huskie Exteriors can inspect your exterior and recommend the right next step.
Contact Huskie Exteriors for professional roofing, siding, window, gutter, and storm damage services in Illinois and Wisconsin.
Subscribe to Huskie Exteriors's Blog





Comments