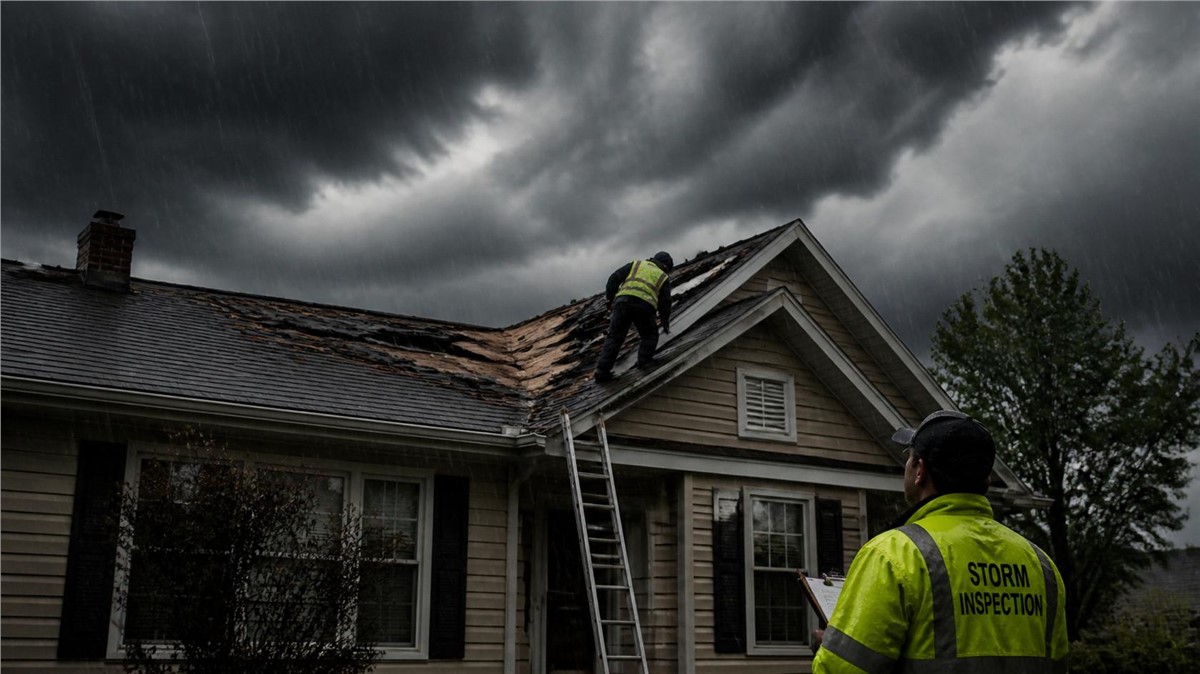
After a strong storm, it is not always easy to know whether your home was damaged. Some storm damage is obvious, such as missing shingles, cracked siding, or broken window glass. Other damage can be harder to see, especially if it affects shingles, flashing, gutters, roof vents, or moisture behind siding.
For homeowners in Sycamore, IL, storm damage inspections are important because northern Illinois weather can bring hail, strong wind, heavy rain, snow, ice, and freeze-thaw cycles. These conditions can damage multiple parts of the home’s exterior at the same time.
This guide explains what happens during a storm damage inspection and what homeowners can expect.
Why Storm Damage Inspections Matter
Storm damage can spread if it is not found early. A small roof issue may lead to attic moisture. A loose gutter may cause siding stains or foundation pooling. A cracked siding panel may allow water behind the wall.
A storm damage inspection can help identify:
- Roof damage
- Missing or lifted shingles
- Hail impact marks
- Damaged siding
- Dented gutters
- Broken window seals
- Leaking flashing
- Fascia and soffit damage
- Interior water stains
- Drainage problems
The inspection gives homeowners a clearer view of what happened and what should be repaired.
Step 1: Reviewing the Storm History
The inspection often starts with basic information about the storm. The contractor may ask when the storm happened and what the homeowner noticed afterward.
Helpful details include:
- Storm date
- Hail reports
- Strong wind reports
- Heavy rain timing
- Areas where leaks appeared
- Siding or roof pieces found in the yard
- Interior stains after the storm
- Gutter overflow during rain
This information helps the inspector focus on the most likely damage areas.
Step 2: Ground-Level Exterior Check
Before checking the roof closely, the contractor may walk around the home and review visible damage from the ground.
They may look for:
- Missing shingles
- Dented gutters
- Cracked siding
- Loose siding panels
- Damaged trim
- Broken screens
- Fallen branches
- Debris impact marks
- Water pooling near the home
This first pass helps identify which sides of the home took the strongest storm impact.
Step 3: Roof Inspection
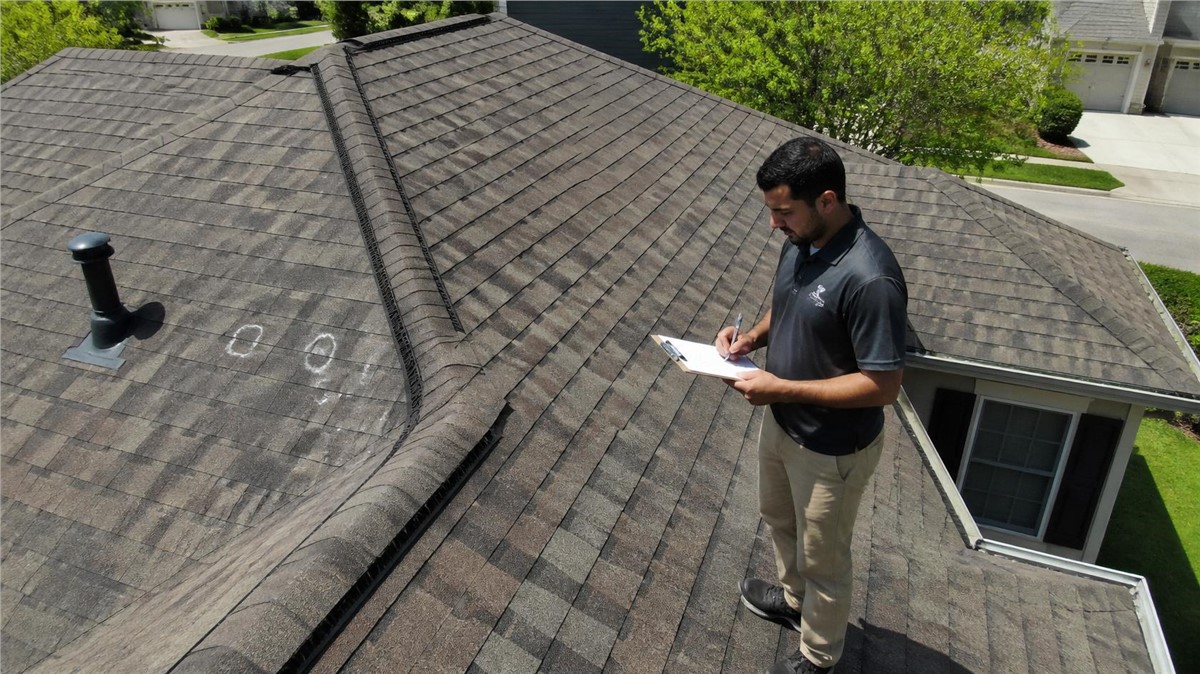
The roof is one of the most important areas checked after a storm. Hail, wind, debris, and heavy rain can damage shingles, vents, flashing, ridge caps, and roof edges.
A roof inspection may include checking:
- Missing shingles
- Lifted shingles
- Cracked shingles
- Bruised shingles
- Granule loss
- Damaged ridge caps
- Dented vents
- Pipe boots
- Flashing
- Roof valleys
- Soft or uneven areas
Homeowners should avoid climbing on the roof themselves, especially after rain, wind, ice, or visible damage.
Step 4: Checking for Hail Damage
Hail damage can be difficult to identify without a close inspection. Hail may bruise shingles, dent metal components, crack siding, damage screens, and affect gutters.
The contractor may check:
- Shingle impact marks
- Granule loss
- Dented gutters
- Dented downspouts
- Dented roof vents
- Cracked siding
- Damaged window screens
- Dented flashing or trim
If hail damaged one area, the inspector will usually check the full exterior for related damage.
Step 5: Checking for Wind Damage
Wind damage may show up as lifted, creased, torn, or missing materials. Strong wind can loosen roofing, siding, fascia, soffit, gutters, and trim.
Wind damage signs may include:
- Lifted shingles
- Missing shingles
- Loose ridge caps
- Siding pulled away
- Missing siding pieces
- Loose fascia
- Loose soffit panels
- Gutters pulling away
- Damaged flashing
Wind-driven rain can also force water into openings that do not leak during normal rainfall.
Step 6: Siding Inspection
Siding protects the wall system from moisture and wind. After a storm, siding should be checked for cracks, holes, loose sections, and hidden water concerns.
A siding inspection may include:
- Cracked panels
- Holes or punctures
- Loose siding
- Warped areas
- Dented trim
- Moisture stains
- Gaps near windows
- Damage around corners
- Missing pieces
- Signs of water behind siding
Even one damaged panel can allow moisture behind the exterior surface.
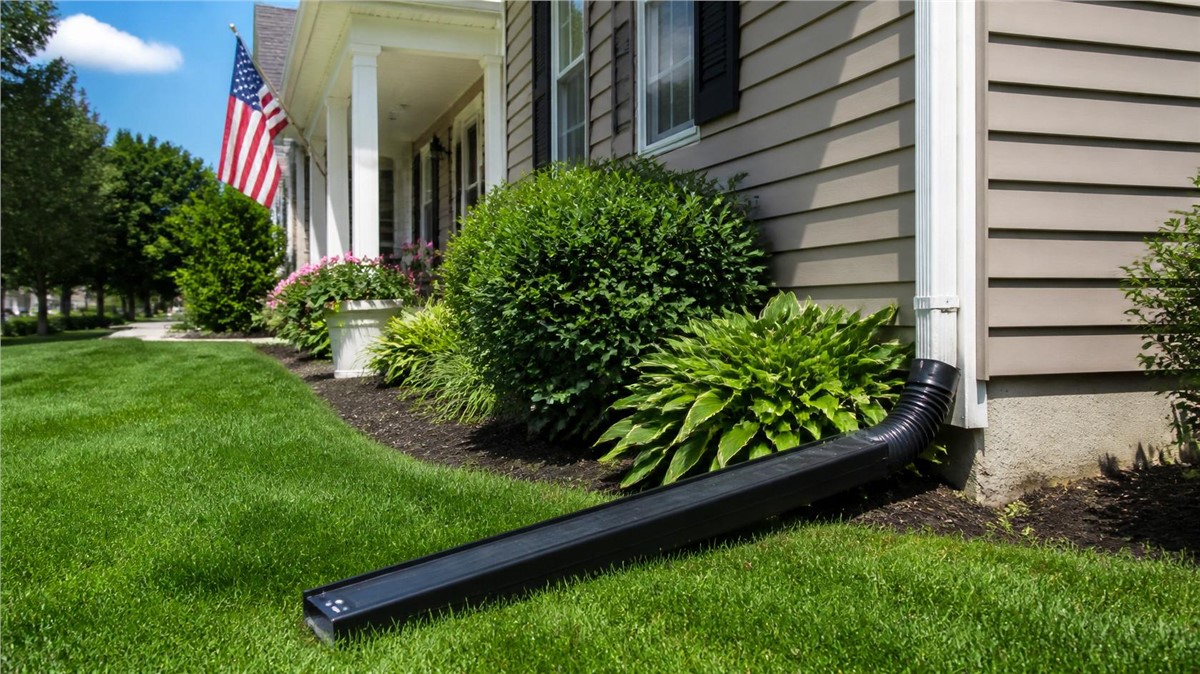
Step 7: Gutter and Downspout Inspection
Gutters and downspouts are often damaged during hail and windstorms. They also reveal clues about roof condition.
The contractor may check:
- Dented gutters
- Dented downspouts
- Loose hangers
- Leaking seams
- Sagging sections
- Gutter overflow signs
- Granules inside gutters
- Downspout drainage
- Water pooling near the foundation
If gutters are clogged, bent, or pulling away, they may not move water away from the home properly.
Step 8: Window and Screen Inspection
Windows can be damaged by hail, wind-driven debris, and pressure changes during storms. Some damage is obvious, while seal failure may show up later.
Window inspection may include:
- Cracked glass
- Damaged screens
- Fogging between panes
- Loose exterior trim
- Failed caulking
- Water stains below windows
- Drafts
- Damaged frames
- Difficulty opening or locking
Window leaks may also be connected to nearby siding, flashing, or gutter issues.
Step 9: Fascia, Soffit, and Trim Inspection
Fascia, soffit, and trim help protect roof edges and exterior transitions. These areas can loosen or crack during strong wind and hail.
The contractor may look for:
- Loose fascia
- Soft fascia
- Damaged soffit panels
- Gaps near roof edges
- Peeling paint
- Water stains
- Damaged trim wrap
- Openings for pests
- Moisture near gutters
Damage in these areas can affect both appearance and weather protection.
Step 10: Flashing and Roof Penetration Check
Flashing protects areas where the roof changes direction or where something passes through the roof. Storm damage near flashing can create leaks even when shingles look mostly fine.
Important areas include:
- Chimneys
- Skylights
- Vents
- Pipe boots
- Roof valleys
- Dormers
- Wall transitions
- Roof edges
Loose or damaged flashing should be repaired before water enters the home.
Step 11: Interior Moisture Check
A storm damage inspection may also include checking inside the home if leaks or stains are present.
Interior signs may include:
- Ceiling stains
- Wall stains
- Bubbling paint
- Damp drywall
- Musty odors
- Wet insulation
- Water near windows
- Attic moisture
Interior moisture can help confirm whether exterior damage has allowed water into the home.
Step 12: Attic Inspection if Needed
The attic can show hidden roof damage that is not visible from the ground. If there are ceiling stains, roof concerns, or ventilation issues, an attic check may be helpful.
The contractor may look for:
- Wet insulation
- Dark roof decking
- Rusted nails
- Water trails
- Mold or mildew concerns
- Daylight through roof gaps
- Moisture near vents
- Condensation signs
Attic findings can help separate roof leaks from ventilation or condensation problems.
Step 13: Drainage Review
Storm damage is not only about impact marks. Heavy rain can reveal drainage issues that may damage the home over time.
A drainage review may include:
- Downspout discharge points
- Water pooling near the foundation
- Gutter overflow
- Short extensions
- Soil erosion
- Water stains on siding
- Ice buildup areas
- Foundation moisture concerns
Proper drainage helps protect roofing, siding, gutters, and basement areas.
Documentation During the Inspection
A storm damage inspection should include clear documentation. This helps homeowners understand what was found and what repairs may be needed.
Documentation may include:
- Photos of damage
- Notes on affected areas
- Roof findings
- Siding findings
- Gutter findings
- Window findings
- Interior moisture notes
- Repair recommendations
If insurance may be involved, homeowners should contact their insurance provider for claim-specific instructions.
What Happens After the Inspection?
After the inspection, the contractor should explain the findings and recommend next steps.
Possible next steps may include:
- No repair needed
- Gutter cleaning
- Minor roof repair
- Siding repair
- Window repair
- Flashing repair
- Full replacement of damaged sections
- Temporary protection
- Insurance documentation support
The recommendation should match the damage found, not pressure the homeowner into unnecessary work.
Repair vs Replacement After Storm Damage
Some storm damage can be repaired. Other damage may require replacement if it is widespread or affects performance.
Repair may make sense if:
- Damage is isolated
- Materials are still in good condition
- No hidden moisture is found
- The roof or siding is not near failure
- Matching materials are available
Replacement may be better if:
- Damage affects many areas
- Shingles or siding are aging
- Leaks keep returning
- Hidden moisture is present
- Storm damage is widespread
- Repairs would not last
A professional inspection helps homeowners compare these options.
Insurance Considerations
If the damage may be storm-related, homeowners should contact their insurance provider to understand policy coverage, deductibles, deadlines, documentation requirements, and claim steps.
Helpful documentation may include:
- Storm date notes
- Photos of visible damage
- Contractor inspection findings
- Interior water stain photos
- Temporary repair receipts
- Adjuster notes
Every policy is different, so insurance guidance should come directly from the provider.
What Homeowners Should Do Before the Inspection
Before the contractor arrives, homeowners can gather useful information.
Helpful steps include:
- Write down the storm date
- Take ground-level photos
- Note leak locations
- Save photos of hail or fallen debris
- Check ceilings for stains
- Move vehicles from work areas
- Keep pets safely inside
- Provide attic access if needed
Avoid climbing onto the roof or touching damaged electrical areas.
Why a Full Exterior Inspection Helps
Storms can damage several exterior systems at once. Looking only at the roof may miss siding, gutter, window, fascia, soffit, flashing, or drainage problems.
A full exterior inspection may include:
- Roofing
- Siding
- Gutters and downspouts
- Windows and screens
- Flashing
- Fascia and soffit
- Exterior trim
- Attic moisture signs
- Interior water stains
- Foundation drainage
Huskie Exteriors provides roofing, siding, window, gutter, and storm damage restoration services, helping homeowners evaluate the full exterior system.
Why Local Exterior Experience Matters
A local contractor understands how Illinois weather affects homes. In Sycamore, IL, storm damage may come from hail, wind, heavy rain, snow, ice, humidity, and freeze-thaw cycles.
Local experience helps homeowners determine whether damage is cosmetic, repairable, storm-related, drainage-related, or connected to hidden moisture behind the exterior.
Conclusion
A storm damage inspection in Sycamore, IL helps homeowners understand how severe weather may have affected the roof, siding, gutters, windows, flashing, fascia, soffit, attic, and interior areas. The inspection looks for visible damage, hidden moisture signs, drainage problems, and repair needs before small issues become larger problems.
If your home has missing shingles, dented gutters, cracked siding, leaking windows, ceiling stains, or other storm damage concerns, Huskie Exteriors can inspect your exterior and recommend the right next step.
Contact Huskie Exteriors for professional roofing, siding, window, gutter, and storm damage services in Illinois and Wisconsin.
Subscribe to Huskie Exteriors's Blog







Comments