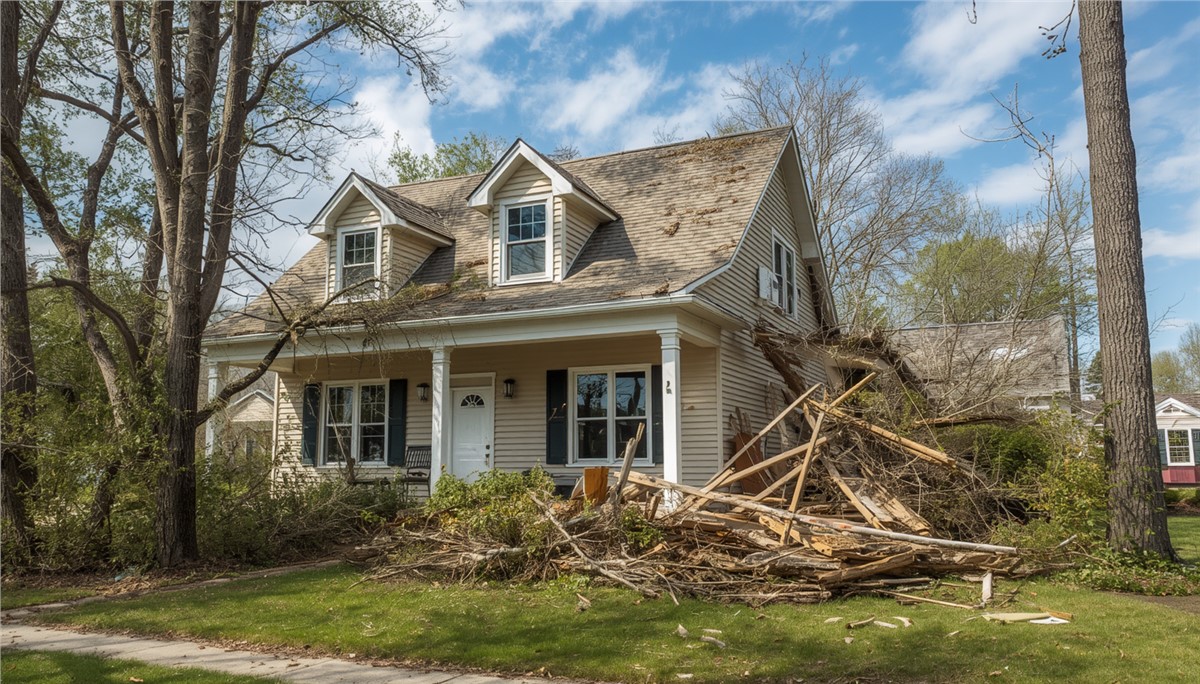
Storm damage can be stressful, especially when you are not sure what to do first. After hail, wind, heavy rain, snow, or ice, homeowners may notice missing shingles, dented gutters, cracked siding, leaks, torn screens, or water stains inside the home.
For homeowners in Lake Geneva, WI, understanding the storm damage insurance process can make the situation easier to manage. While every insurance policy and claim is different, the basic steps are often similar.
This guide explains what homeowners should do after storm damage and how to prepare for the insurance process.
Step 1: Start with Safety
Before checking for damage, make sure your home and property are safe. Do not climb onto the roof, use ladders, or touch loose exterior materials after a storm.
Watch for:
- Fallen branches
- Broken glass
- Loose siding
- Hanging gutters
- Shingles on the ground
- Water near electrical areas
- Damaged outdoor lights
- Slippery walkways
- Ice near entrances
Keep children, pets, and visitors away from unsafe areas until the property can be inspected.
Step 2: Check for Active Leaks
After a storm, check inside your home for signs of water intrusion. A leak may appear right away or during the next rainfall.
Look for:
- Ceiling stains
- Active dripping
- Damp attic insulation
- Bubbling paint
- Peeling drywall
- Musty odors
- Water near windows
- Moisture around chimneys or vents
Even if the leak stops, the source should still be inspected. Water can travel through attic spaces and wall cavities before showing up indoors.
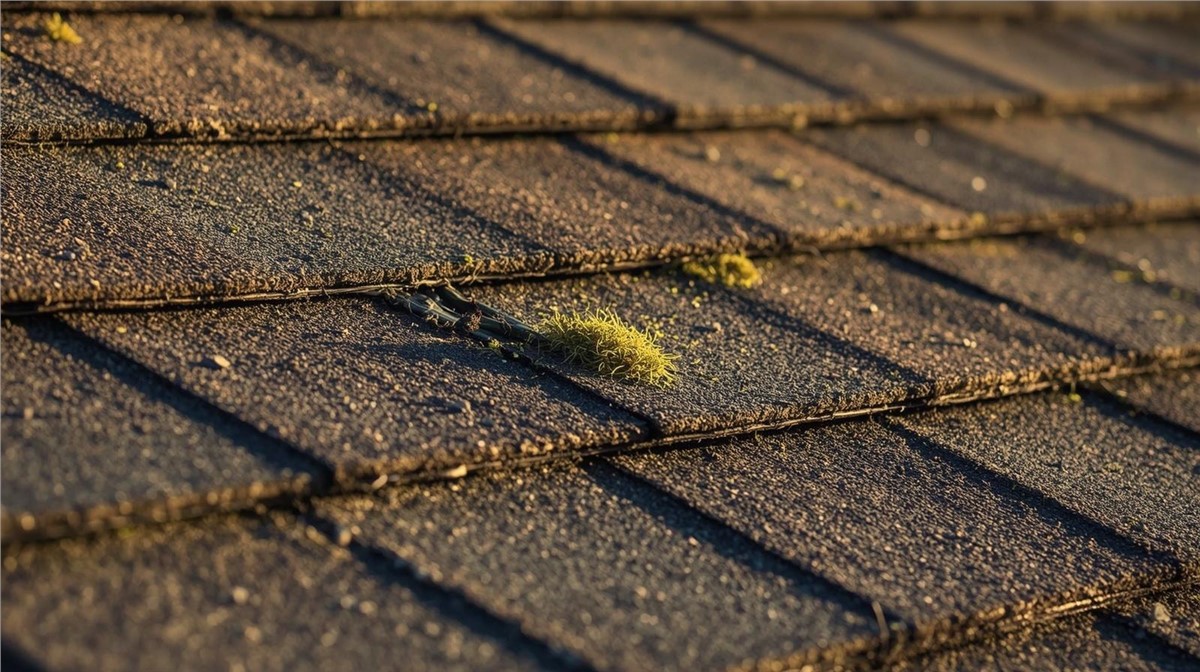
Step 3: Document Visible Damage
Documentation is helpful during the insurance process. Homeowners should take photos and notes from the ground without climbing onto the roof.
Document:
- Storm date and time
- Dented gutters
- Cracked siding
- Missing shingles
- Shingles or siding pieces in the yard
- Torn window screens
- Broken trim
- Interior water stains
- Fallen branches or debris
- Water pooling near the foundation
Keep all photos organized so you can share them with your insurance provider if needed.
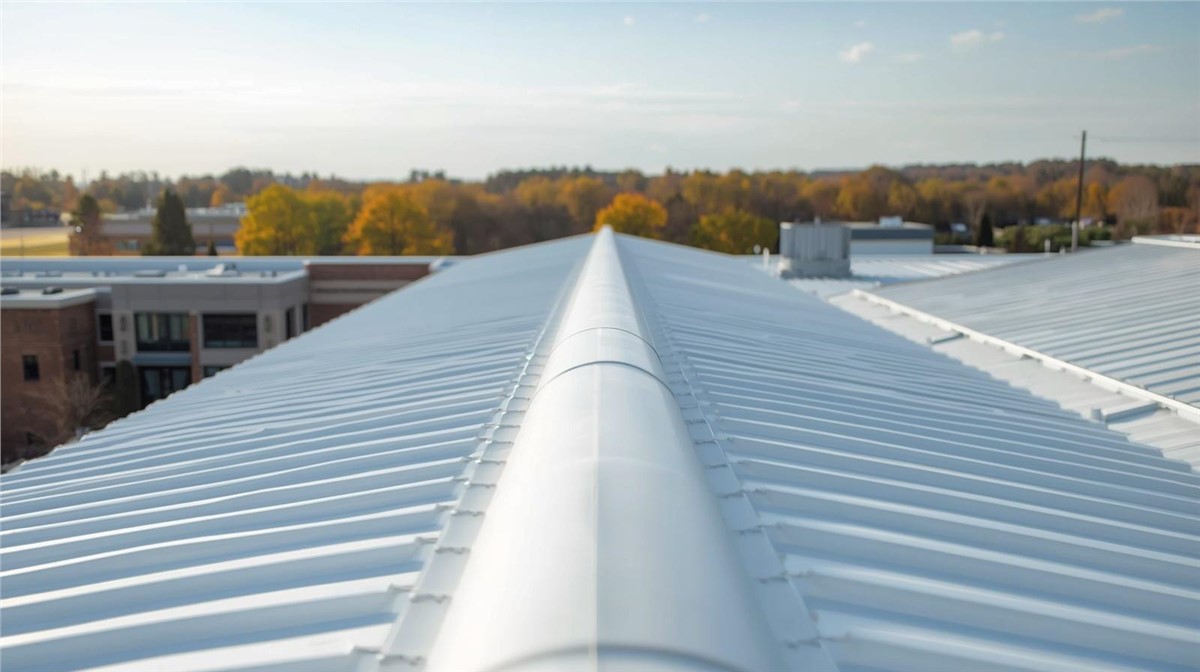
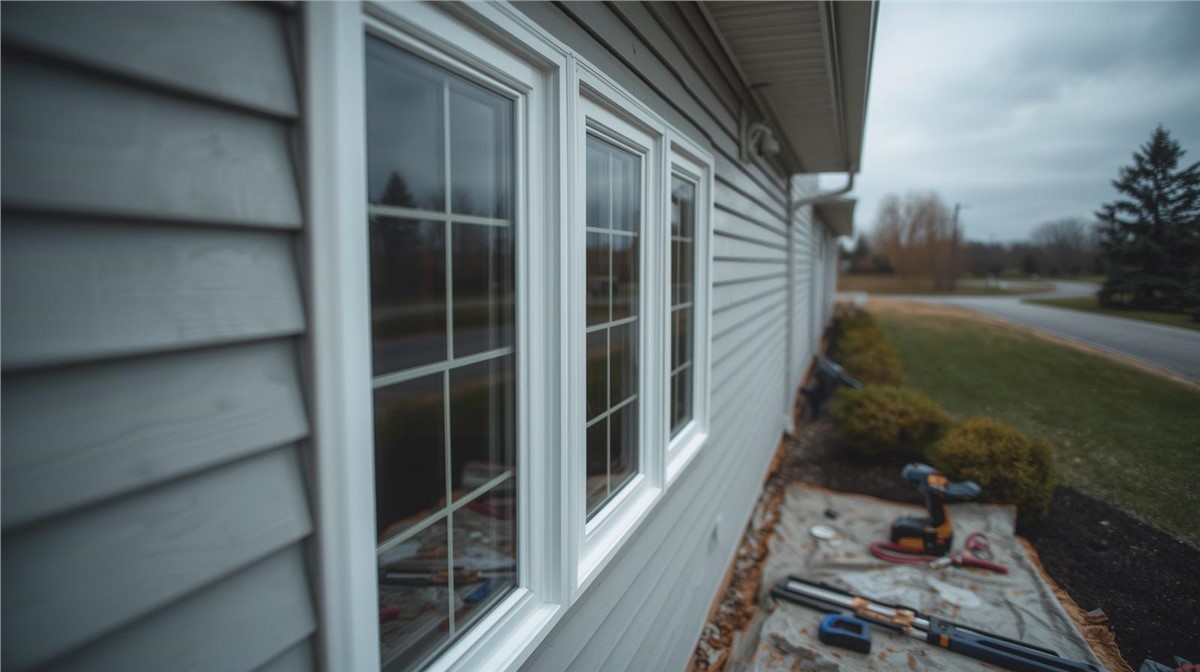
Step 4: Schedule a Professional Exterior Inspection
A professional exterior inspection helps identify damage that may not be visible from the ground. Hail damage, lifted shingles, loose flashing, damaged vents, and hidden moisture can be difficult for homeowners to spot.
A storm damage inspection may include:
- Roofing
- Siding
- Gutters and downspouts
- Windows and screens
- Flashing
- Fascia and soffit
- Exterior trim
- Attic moisture signs
- Interior water stains
Huskie Exteriors provides roofing, siding, window, gutter, and storm damage restoration services, helping homeowners evaluate the full exterior system after severe weather.
Step 5: Contact Your Insurance Provider
After damage is documented and inspected, contact your insurance provider to start the claim process. Your insurance company can explain your policy, deductible, claim steps, and what information they need.
When calling, be ready to provide:
- Your policy information
- Storm date
- Type of damage noticed
- Photos or notes
- Inspection findings
- Any active leak concerns
- Best contact information
Every policy is different, so homeowners should rely on their insurance provider for coverage details and claim requirements.
Step 6: Meet the Insurance Adjuster
Your insurance company may send an adjuster to inspect the damage. The adjuster reviews the property and determines what may be covered under the policy.
During the adjuster visit, it can be helpful to have:
- Photos of visible damage
- Notes about leaks or interior moisture
- Inspection findings
- A list of affected areas
- Access to attic or interior damage areas
- Information about previous repairs if available
If damage affects roofing, siding, gutters, windows, or trim, all related areas should be reviewed.
Step 7: Review the Claim Decision
After the adjuster completes the inspection, the insurance company will provide claim information. This may include approved repairs, replacement details, deductible information, and payment structure.
Review the claim carefully and make sure you understand:
- What work is approved
- Which materials are included
- Whether repair or replacement is listed
- Deductible amount
- Any exclusions or limitations
- Payment timeline
- Next steps
If anything is unclear, contact your insurance provider for clarification.
Step 8: Compare the Repair Scope
The insurance estimate and contractor repair scope should be reviewed carefully. The goal is to make sure the work needed to restore the home is clearly understood.
Important details may include:
- Roofing materials
- Siding materials
- Gutter replacement or repair
- Window or screen damage
- Flashing details
- Fascia and soffit repairs
- Interior moisture concerns
- Cleanup and disposal
A clear repair scope helps homeowners understand what will be repaired and what may require further review.
Step 9: Plan the Repairs
Once the claim details are reviewed and the repair scope is clear, the contractor can help schedule the work.
Repair planning may include:
- Material selection
- Color matching
- Work schedule
- Weather considerations
- Access around the home
- Cleanup expectations
- Safety around work areas
- Final walkthrough
Some materials may take longer to match or order, especially siding, specialty roofing, or custom trim.
Step 10: Complete the Final Walkthrough
After repairs are complete, homeowners should review the finished work. This helps confirm that damaged areas were addressed and that the property was cleaned properly.
During the final walkthrough, check:
- Roofing repairs
- Siding repairs
- Gutters and downspouts
- Window and trim areas
- Flashing details
- Cleanup around the property
- Any remaining questions
Keep records of completed repairs for future reference.
Common Storm Damage Covered in Claims
Coverage depends on the policy, but storm damage claims often involve sudden damage from hail, wind, falling debris, or severe weather.
Common storm-related concerns include:
- Hail-damaged shingles
- Missing shingles from wind
- Dented gutters
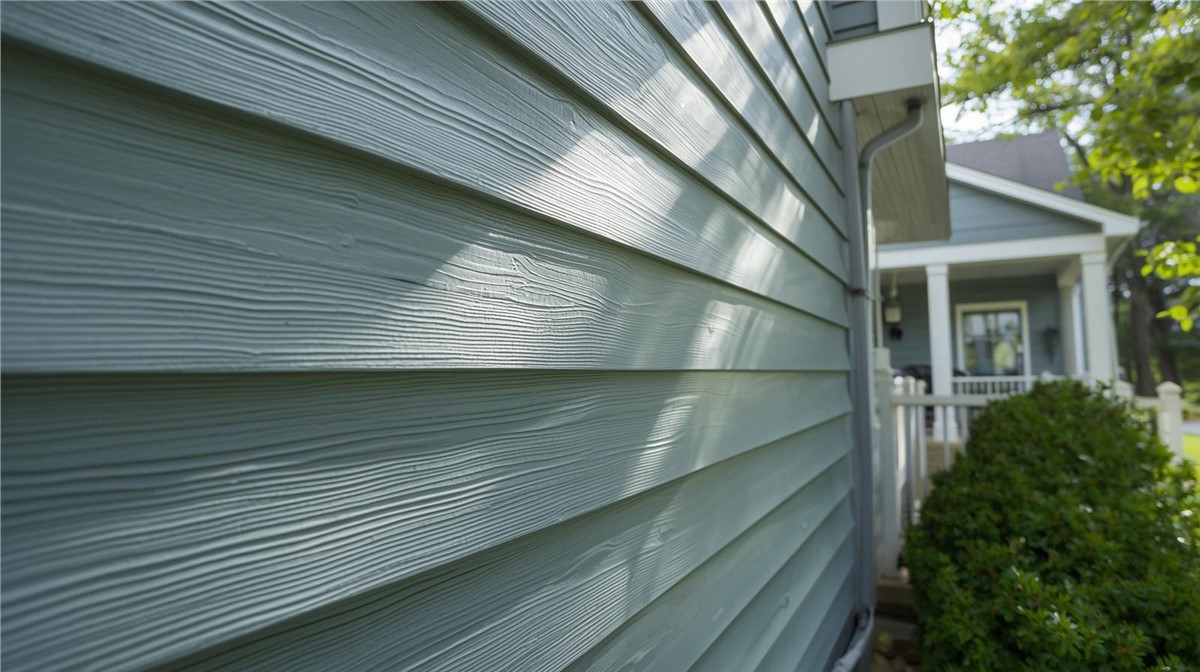
- Cracked siding
- Torn screens
- Damaged roof vents
- Broken trim
- Leaks from storm damage
Homeowners should check with their insurance provider to understand what is covered under their specific policy.
Hail Damage in Lake Geneva, WI
Hail can affect more than the roof. A single hailstorm may damage roofing, siding, gutters, downspouts, windows, screens, trim, fascia, and soffit.
Signs of hail damage include:
- Dented gutters
- Granule loss near downspouts
- Cracked siding
- Dented vents
- Torn screens
- Chipped trim
- Impact marks on exterior materials
Hail damage may not cause a leak immediately, but it can weaken materials over time.
Wind Damage in Lake Geneva, WI
Strong wind can lift shingles, loosen siding, shift flashing, and damage roof edges. Some wind damage is obvious, while other areas may look normal from the ground.
Wind damage may include:
- Missing shingles
- Lifted shingle edges
- Loose siding panels
- Open seams
- Damaged flashing
- Loose gutters
- Water intrusion after wind-driven rain
Wind-damaged areas should be repaired before the next storm creates more damage.
Repair vs Replacement After Storm Damage
The right solution depends on the amount of damage and the condition of the existing materials.
Repair may make sense if:
- Damage is isolated
- A few shingles are missing
- A few siding panels are cracked
- One gutter section is damaged
- Window or trim damage is minor
- No hidden moisture damage is found
Replacement may be better if:
- Damage affects multiple roof slopes
- Siding damage is widespread
- Gutters are damaged throughout
- Materials are aging or brittle
- Leaks are present
- Repairs would not match well
- Damage is too widespread for a small repair
A professional inspection can help determine the most practical next step.
Why a Full Exterior Inspection Matters
Storm damage often affects multiple areas at the same time. If hail dents gutters, it may have also damaged shingles or siding. If wind lifts siding, it may have also affected flashing, roof edges, or trim.
A full exterior inspection helps identify damage to:
- Roofing
- Siding
- Gutters
- Windows
- Trim
- Fascia and soffit
- Flashing
- Attic areas
- Interior moisture areas
This helps homeowners avoid missing hidden damage that could cause problems later.
Why Local Exterior Experience Matters
A local contractor understands how Wisconsin weather affects homes. In Lake Geneva, storms may bring hail, wind, heavy rain, snow, ice, and freeze-thaw cycles that can worsen small exterior problems.
Local experience helps homeowners identify storm damage, prioritize urgent repairs, and understand how roofing, siding, gutters, and windows work together to protect the home.
Conclusion
The storm damage insurance process in Lake Geneva, WI starts with safety, documentation, inspection, contacting your insurance provider, meeting the adjuster, reviewing the claim, and planning repairs. Every claim is different, but a clear step-by-step process helps homeowners stay organized.
If your home has storm damage, missing shingles, cracked siding, dented gutters, window damage, or interior leaks, Huskie Exteriors can inspect your exterior and recommend the right next step.
Contact Huskie Exteriors for professional roofing, siding, window, gutter, and storm damage services in Illinois and Wisconsin.
Subscribe to Huskie Exteriors's Blog


Comments