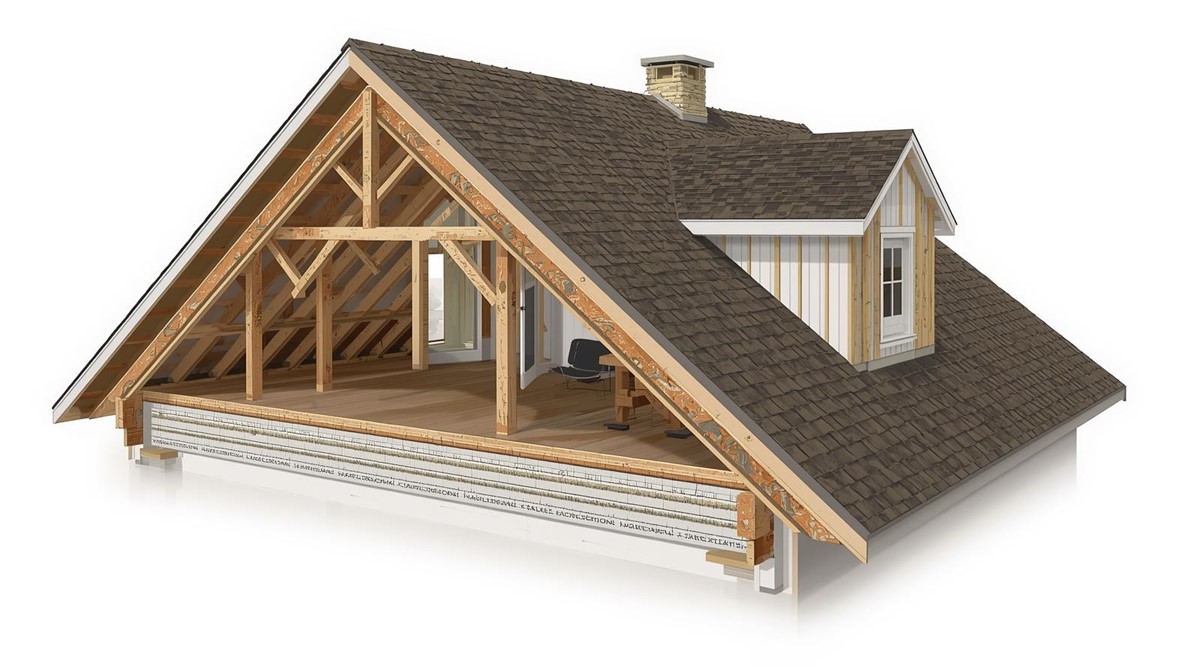
Beneath the shingles and weatherproofing lies the skeleton of your roof system: the decking. Also known as sheathing, this is a continuous layer of wood panels—usually plywood or OSB—that covers the rafters and creates the solid surface for everything else. Its primary job is to provide a strong, unified foundation that all other roofing materials are nailed to, making it a fundamental component of the roof's structure.
The condition of this decking is what determines whether you need a simple shingle replacement or a major structural repair. A roofer can often identify problems just by walking on the roof; a soft, spongy feeling underfoot is a classic sign that the wood beneath has rotted from a slow, undetected leak. This turns a predictable job into a far more complex and costly project, as the damaged decking must be torn out and replaced.
You can often spot trouble before it gets that bad. From inside your attic, a quick visual inspection of the underside of the roof can reveal a lot. Look for dark water stains or discoloration on the wood panels. These marks are the tell-tale evidence that water has penetrated the outer layers, signaling a problem with your roof’s core foundation long before a drip appears on your ceiling.
Your Roof's Secret Weapon: How an Ice & Water Shield Prevents Costly Damage
Ever wondered about those thick ridges of ice that form on the edge of some roofs in winter? That’s an ice dam, and it’s a major cause of leaks. It happens when heat from your attic melts snow on the roof, but the water refreezes when it hits the cold eaves. This dam traps water, which can then creep backward and upward, right under your shingles. Since your roof's decking is the foundation, protecting it from this kind of water intrusion is absolutely critical.
To combat this specific threat, roofers install a special, premium membrane called an Ice & Water Shield. Think of it as a thick, sticky, waterproof bandage applied directly to the decking in the most leak-prone areas: the bottom few feet of the roof (the eaves), in the valleys where two roof planes meet, and around skylights or chimneys. It serves as an elite line of defense precisely where water is most likely to cause trouble.
What makes this shield so effective is its rubberized asphalt composition, which gives it a "self-sealing" quality. When a roofing nail is driven through it, the sticky membrane instantly seals tight around the nail shank, creating a perfect, watertight gasket. This means that even if water gets trapped behind an ice dam, it has no path through the thousands of nail holes to your decking. It's a small detail that provides powerful insurance against some of winter’s worst damage.
Your Roof's Backup Plan: The Hidden Role of Underlayment
That heavy-duty shield protects the edges, but what about the rest of your vast roof decking? This is where underlayment comes in. Think of it as a large, water-resistant sheet that covers your entire roof between the wood decking and the final shingles. It’s the essential backup plan for the whole system, providing secondary protection.
Its most important job happens when the unexpected occurs. If a severe storm blows a shingle clean off, the underlayment is what stands between your home and a sudden leak. This hidden layer buys you precious time to get the roof repaired without water pouring directly onto the wood decking and into your attic.
For years, the standard was asphalt-soaked felt (often called tar paper), which can tear easily. Today, the choice between synthetic vs felt roof underlayment is clear for most roofers, who prefer modern synthetics. This tough, woven fabric is far more durable and tear-resistant, providing superior protection both during the roofing job and for the life of your roof.
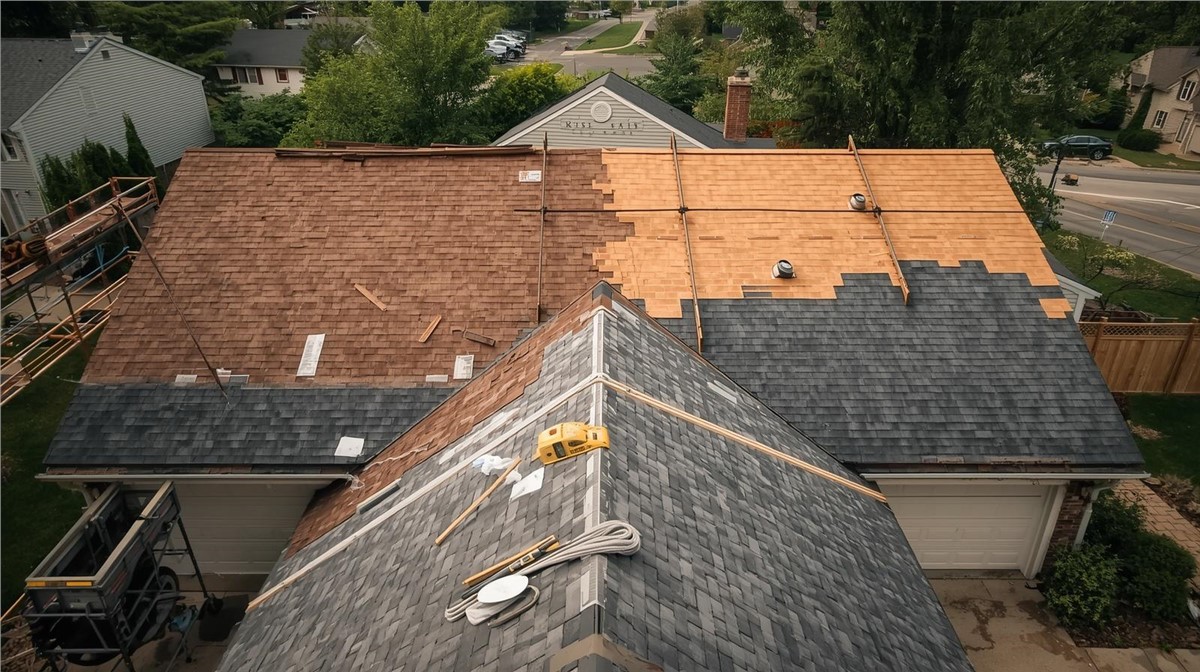
More Than Just a Pretty Face: The Real Job of Your Shingles
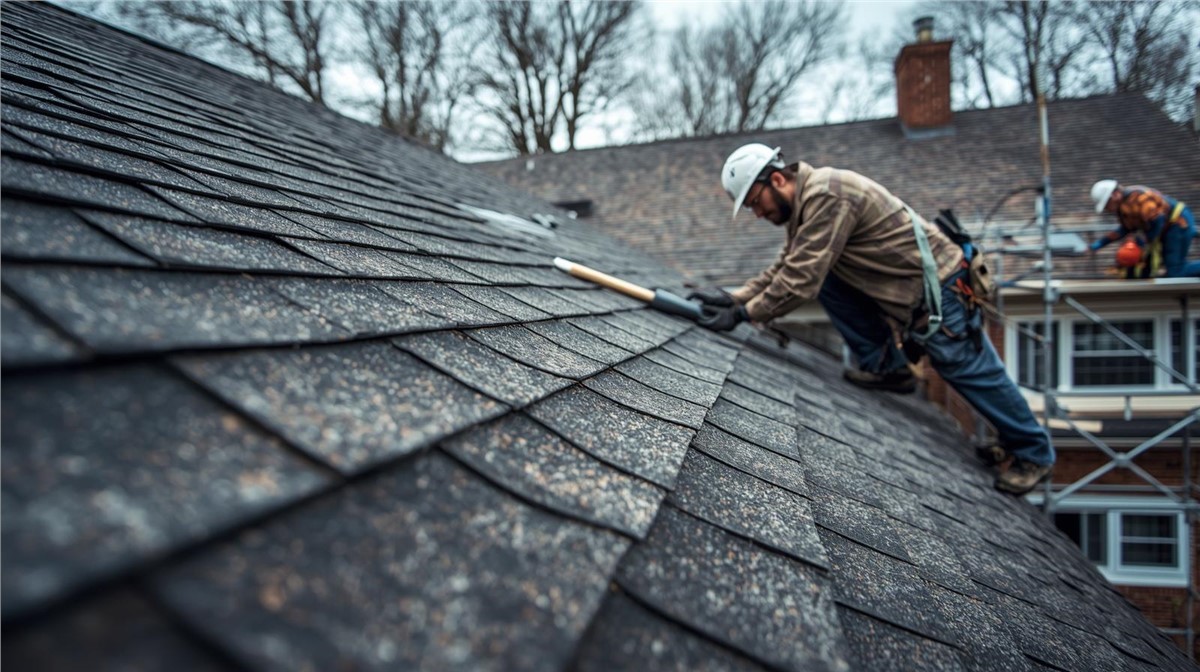
Finally, we get to the part of the roof anatomy everyone recognizes—the shingles. As the outermost layer, they are your home's primary armor against the elements. But their genius isn't in each individual piece, but in how they overlap. This "fish scale" design creates a continuous, cascading path that directs water down the roof and safely away from your home.
A closer look reveals that a shingle's surface is covered in rough, sand-like granules. These aren't just for color; their most critical job is to act as a shield against the sun's harsh UV rays. Think of it as built-in sunscreen for your roof materials. Without this protection, the asphalt inside would dry out, become brittle, and fail much sooner, drastically shortening its lifespan.
This leads to a crucial tip for homeowners. As shingles age, they shed these protective granules. If you clean your gutters and find large accumulations of this coarse, dark sand, it's a key sign that your roof is nearing the end of its effective life. Its primary defense against the sun is washing away, leaving the shingle vulnerable to damage.
Sealing the Gaps: Why Roof Flashing Is Your Best Defense Against Leaks
Shingles do a great job on the wide, open slopes of your roof, but what about the tricky spots? Anywhere your roof meets a wall, a chimney, or where two roof planes join in a valley, you have a natural weak point for water. This is where one of the most critical roofing components comes in: flashing. Think of it as custom-fit metal armor for your roof’s joints, precisely bent and layered to create a waterproof seal where shingles alone simply can’t.
Because these areas are so vulnerable, it’s no surprise that failed or improperly installed flashing is the single most common cause of leaks. A small gap or a piece that has pulled away from a wall is an open invitation for water to sneak behind your shingles. This explains why symptoms of a leaking roof, like a ceiling stain, often appear far from any obvious hole—the water got in at a seam and traveled down before showing itself.
The genius of flashing is that it doesn't just block water; it actively controls it. The purpose of roof flashing around a chimney, for instance, is to create an overlapping channel that forces water around the brick and directs it back onto the shingle pathway below. This system ensures water keeps moving down and off your house.
The Finishing Touches: How Soffit, Fascia, and Drip Edges Protect Your Roof's Perimeter
Now that water is flowing off the shingles, it reaches the edge of your roof—an area with its own specialized team of protectors. The long, straight board running along the lower edge, right where the gutters attach, is the fascia. Tucked neatly underneath the roof's overhang, you’ll find the soffit, which is the panel that connects the edge of the roof to the side of your house. Together, these two components give your home a finished look while shielding the underlying structure from weather and pests.
Between the shingles and the fascia lies a small but mighty piece of L-shaped metal: the drip edge. Its sole function is to give water a clean exit path, kicking it away from the fascia and directly into the gutter. Without a proper drip edge, water’s surface tension allows it to curl around the edge of the shingles and run down the wooden fascia board, leading to slow but certain rot right behind your gutters.
If you ever see peeling paint or dark stains on your fascia, it’s a major red flag. This often means your gutters are clogged and overflowing or the drip edge is failing, allowing water to constantly soak the wood. This edge system is a critical part of water management, and the vents often seen in the soffit are the entry point for your roof's entire breathing system.
Your Roof's Lungs: How a Ventilation System Prevents Mold and High Energy Bills
It may seem strange, but your roof needs to breathe. A ventilation system creates constant airflow through the attic—the open space between your roof rafters or trusses framing. This is how a roof ventilation system works: cool, dry air is drawn in through the soffit vents (intake), and as it warms, it naturally rises and exits through vents near the roof’s peak (exhaust). This continuous cycle is essential for protecting the structure of your home from the inside out.
In winter, this airflow is crucial for fighting moisture. Warm, damp air from daily activities like showering and cooking rises into the attic. Without ventilation, it condenses on cold surfaces, creating a perfect breeding ground for mold and rot. The ventilation system acts like an exhaust fan, safely escorting this damaging moisture out of your home before it can cause problems.
During summer, the system’s mission shifts to fighting heat. A poorly ventilated attic can reach scorching temperatures, baking your shingles from below and radiating heat into your home, which drives up cooling costs. Hot air exits through an exhaust vent, often a ridge vent running along the entire peak of the roof. The ridge cap's function is simple; this component often doubles as the exhaust vent. Spotting issues in this breathing system is a critical part of home maintenance.
What to Do Next: A 5-Minute Homeowner's Roof Inspection Checklist
Your home’s roof is no longer a mystery. Where you once saw a single surface, you now recognize its components working as an integrated system. Knowing the anatomy of your roof empowers you to spot the early signs of failure, turning passive observation into active protection for your home.
Put your knowledge into action with this quick, safe health check from the ground. Twice a year, take five minutes to:
Check Gutters & Downspouts: Look for debris and ensure proper drainage.
Inspect Shingles: Scan for missing, curled, or cracked pieces.
Examine Fascia: Note any peeling paint—a key sign of moisture.
View Flashing: Use binoculars to check for rust or damage around joints.
Check Interior Ceilings: Look for any new water stains.
Catching these issues early is the most powerful way to prevent costly repairs and protect your investment.
Subscribe to Huskie Exteriors's Blog


Comments