When a storm rolls through Illinois, your roof bears the brunt of Mother Nature’s fury. High winds, hail, and heavy rains can cause significant damage that, if left unchecked, may lead to costly repairs or even roof replacement. As a homeowner in Illinois, it's crucial to perform a thorough roof inspection after any major storm. This guide provides a comprehensive storm damage roof inspection checklist to help you assess the condition of your roof effectively.
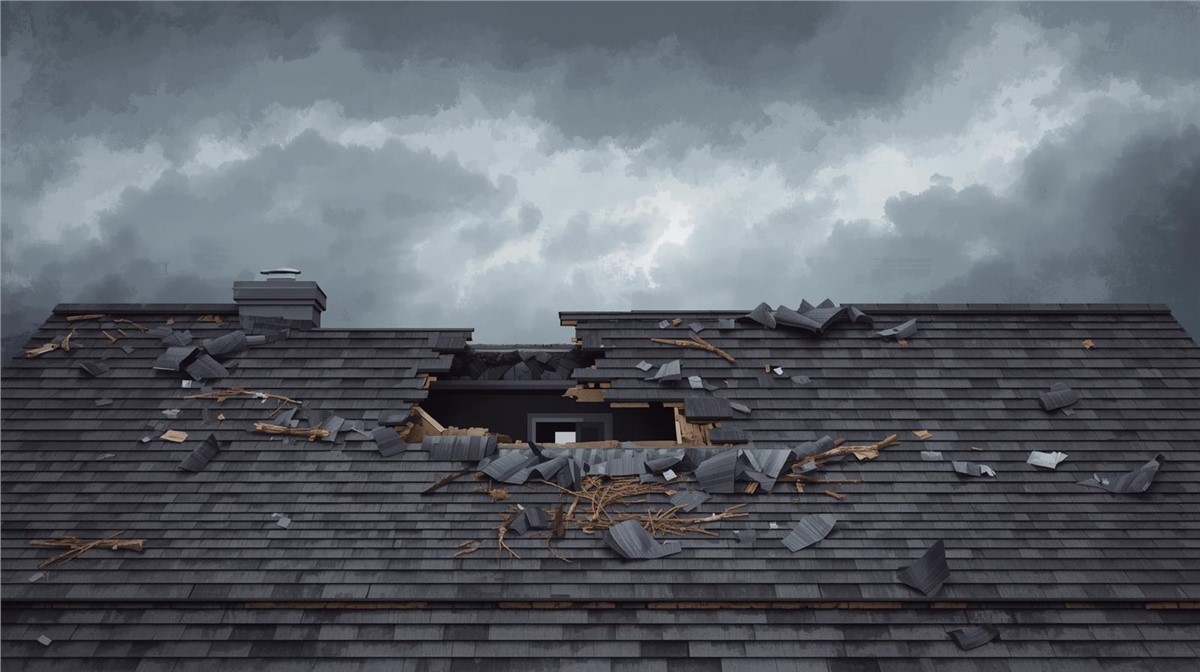
Conducting a roof inspection after a storm is essential for several reasons. First, it helps identify any immediate damage that might compromise the integrity of your roof. Second, timely inspections can prevent minor issues from becoming major problems. Lastly, a thorough inspection can provide documentation for insurance claims, which can be crucial for covering repair costs.
Pre-Inspection Preparations
Before you start your roof inspection, ensure you have the right tools and safety equipment. You'll need a sturdy ladder, a pair of binoculars, a camera or smartphone for taking pictures, and safety gear such as a helmet and non-slip shoes. Make sure the weather is clear and the roof is dry to prevent any accidents.
Exterior Roof Inspection
Check for Visible Damage
Begin your inspection by walking around your home and looking for visible damage from the ground. Use binoculars to get a closer view of the roof. Look for missing or damaged shingles, as these are often the first signs of storm damage.
Inspect for Debris
Check for debris such as branches, leaves, or any other objects that might have landed on your roof during the storm. Debris can cause punctures or additional damage if not removed promptly.
Examine the Gutters
Inspect the gutters for signs of damage or clogging. Gutters can become dislodged or bent during a storm, affecting their ability to direct water away from your home. Check for granules from asphalt shingles in the gutters, as this could indicate shingle wear or damage.
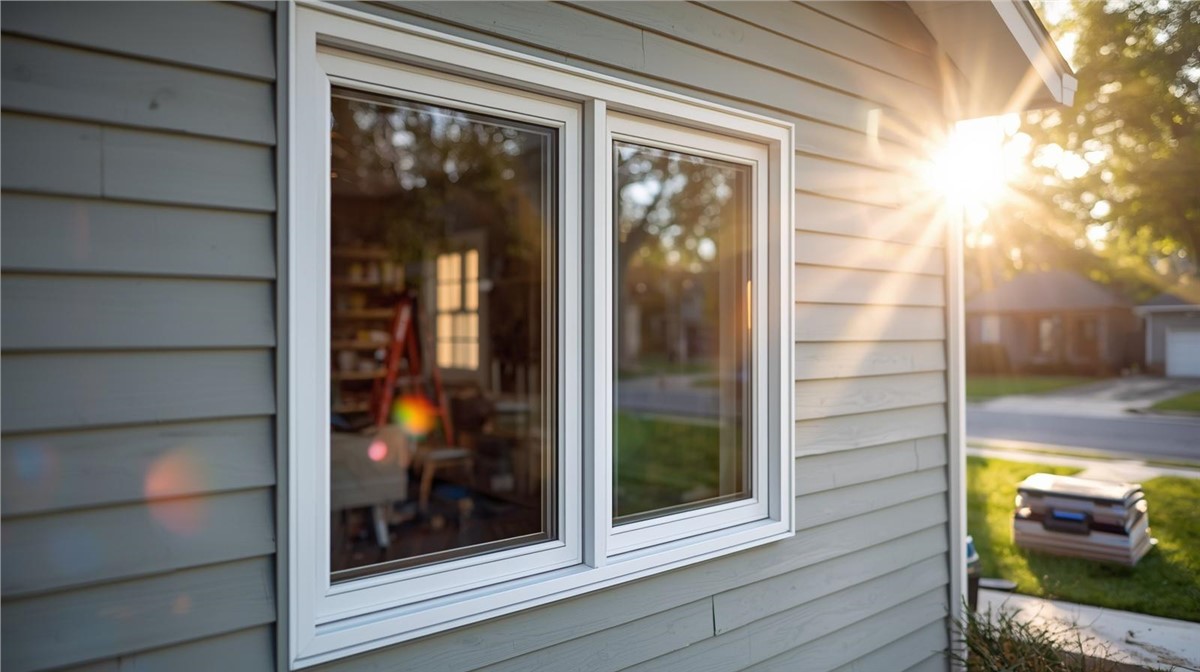
Look for Signs of Water Damage
Inspect the exterior walls and foundation for water stains or erosion. This could indicate that water is not being properly diverted away from your home, possibly due to gutter issues or roof damage.
Interior Roof Inspection
Check the Attic
Enter your attic to inspect the underside of the roof. Look for any signs of leaks, such as water stains, mold, or mildew. Pay attention to any areas where daylight is visible through the roof, as this could indicate holes or gaps.
Inspect Insulation
While in the attic, check the insulation for moisture. Wet insulation is a sign of a roof leak and can lead to decreased energy efficiency and increased utility bills.
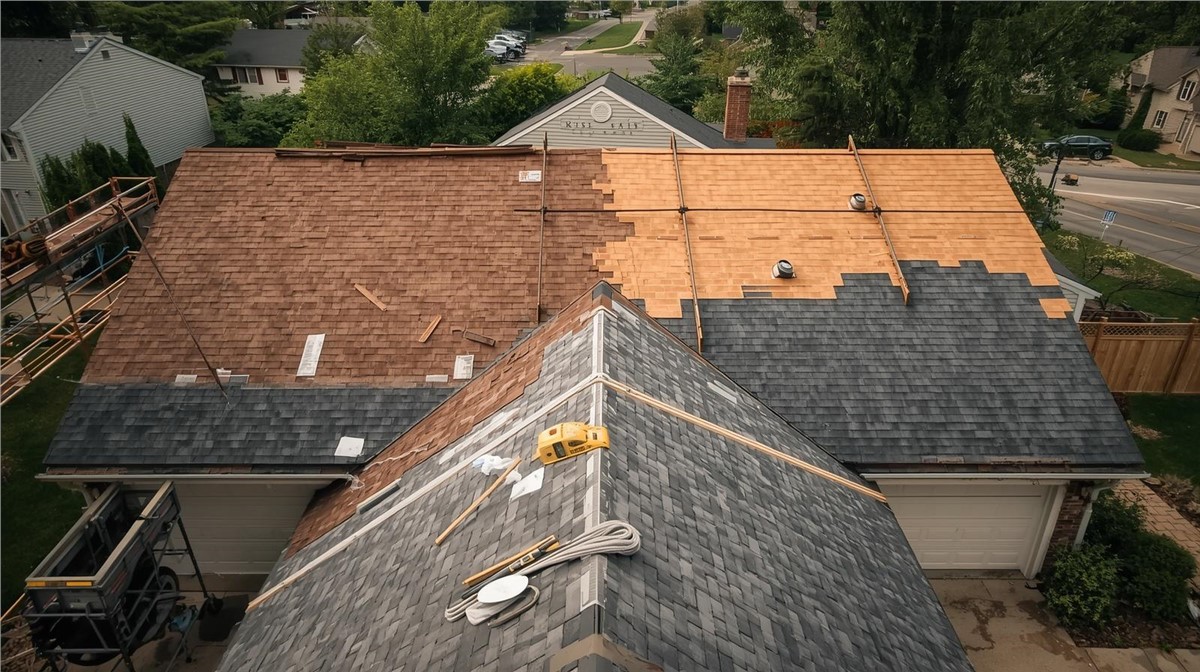
Detailed Roof Inspection
Inspect Shingles Closely
For a more detailed inspection, carefully climb onto the roof if it is safe to do so. Examine the shingles for cracks, curling, or blistering. These are common signs of storm damage. Pay special attention to the roof's edges, as these areas are more susceptible to wind damage.
Check Flashing and Seals
Inspect the flashing around chimneys, vents, and skylights. Damaged or loose flashing can allow water to seep into your home. Check seals for cracks or deterioration, as these are potential entry points for water.
Evaluate Roof Vents
Ensure that roof vents are intact and not damaged. Damaged vents can allow water and pests to enter your home, leading to further complications.
Documenting Damage
Take clear photos of any damage you find during your inspection. Documenting the damage is crucial when filing an insurance claim, as it provides evidence of the storm's impact on your roof.
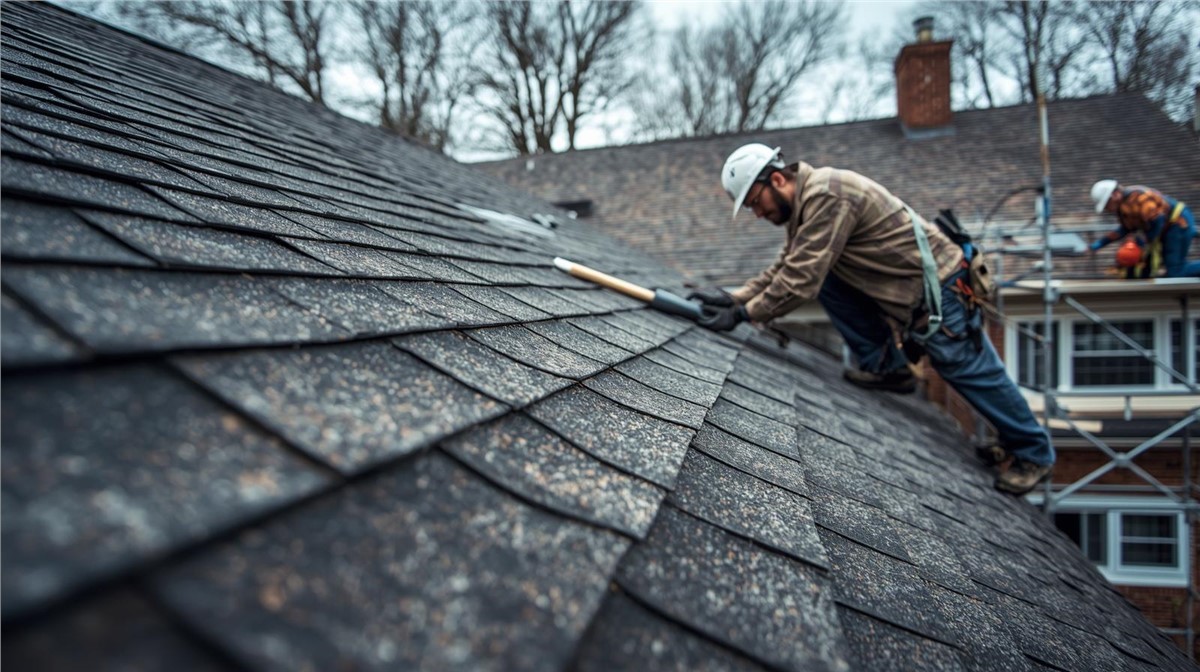
When to Call a Professional
While a DIY inspection can help identify obvious damage, it's wise to call a professional roofing contractor for a more comprehensive assessment. They have the expertise to identify less obvious issues and can provide a detailed report for insurance purposes. If you notice significant damage or if you’re unsure about the condition of your roof, seek professional help immediately.
Filing an Insurance Claim
If your roof has sustained damage, contact your insurance company as soon as possible to begin the claims process. Provide them with the documentation and photos from your inspection. An insurance adjuster may need to inspect the roof as well, so keep all records and communications organized.
Preventive Measures for Future Storms
To minimize damage from future storms, consider taking preventive measures. Regularly clean and maintain your gutters, trim overhanging branches near your roof, and consider impact-resistant roofing materials if replacements are necessary. Routine roof maintenance can extend the life of your roof and improve its resilience against severe weather.
Conclusion
A storm can wreak havoc on your roof, but with a thorough inspection checklist, you can quickly assess and address any damage. Regular inspections and timely repairs are key to maintaining the integrity of your roof and protecting your home. Remember, when in doubt, always consult with a professional roofing contractor to ensure your roof is in top condition and ready to withstand Illinois' unpredictable weather.
Subscribe to Huskie Exteriors's Blog


Comments